Confluence Player for NimbleStory
The Confluence Player lets you publish NimbleStory exports inside Confluence pages.
There are 2 parts to this solution. The NimbleStory Player (code) and the NimbleStory Player Export (content/config)
Downloads
-
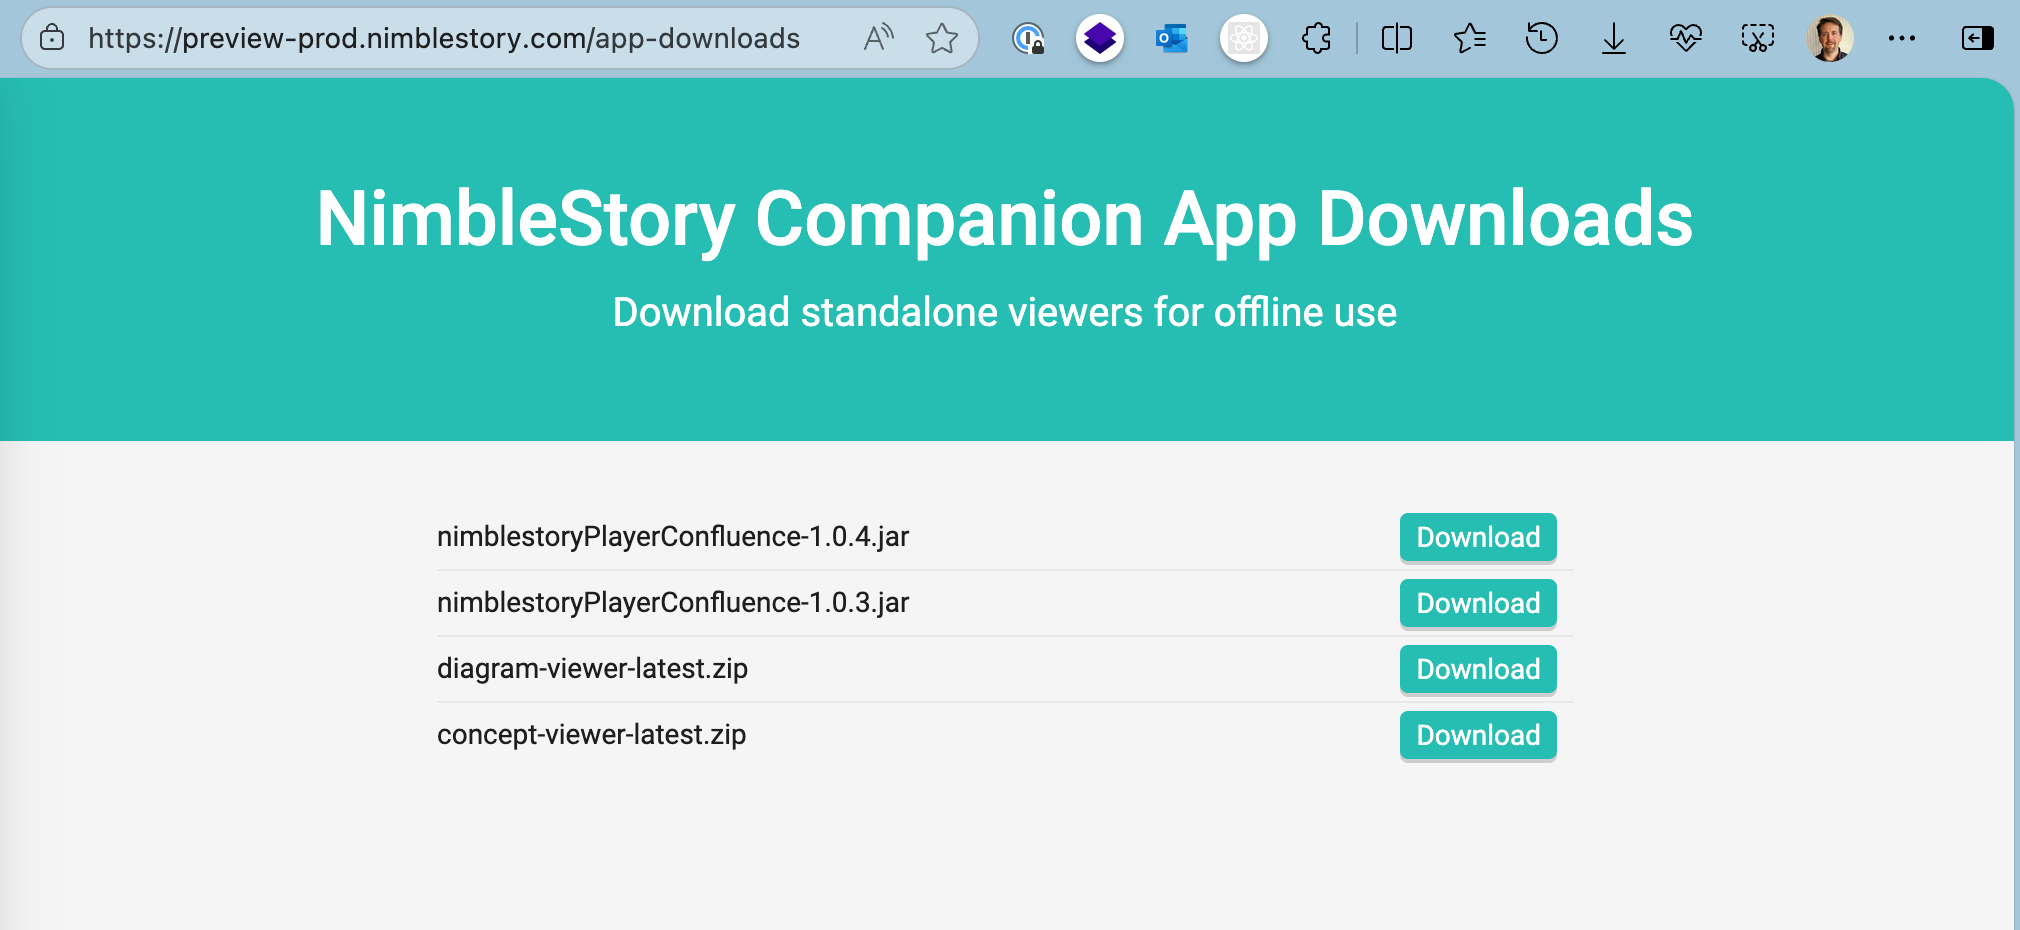
Get the NimbleStory Confluence Player from:
- https://preview-prod.nimblestory.com/app-downloads (no login required)
- Select the Confluence Player Plugin and it will download to your browser
- 1.03 works with a runtime download of React library (auto updating but requires outside calls)
- 1.04 works with an embedded React library (no outside calls)
-
Get the NimbleStory Player Export from:
- https://preview-prod.nimblestory.com/ (login required)
-
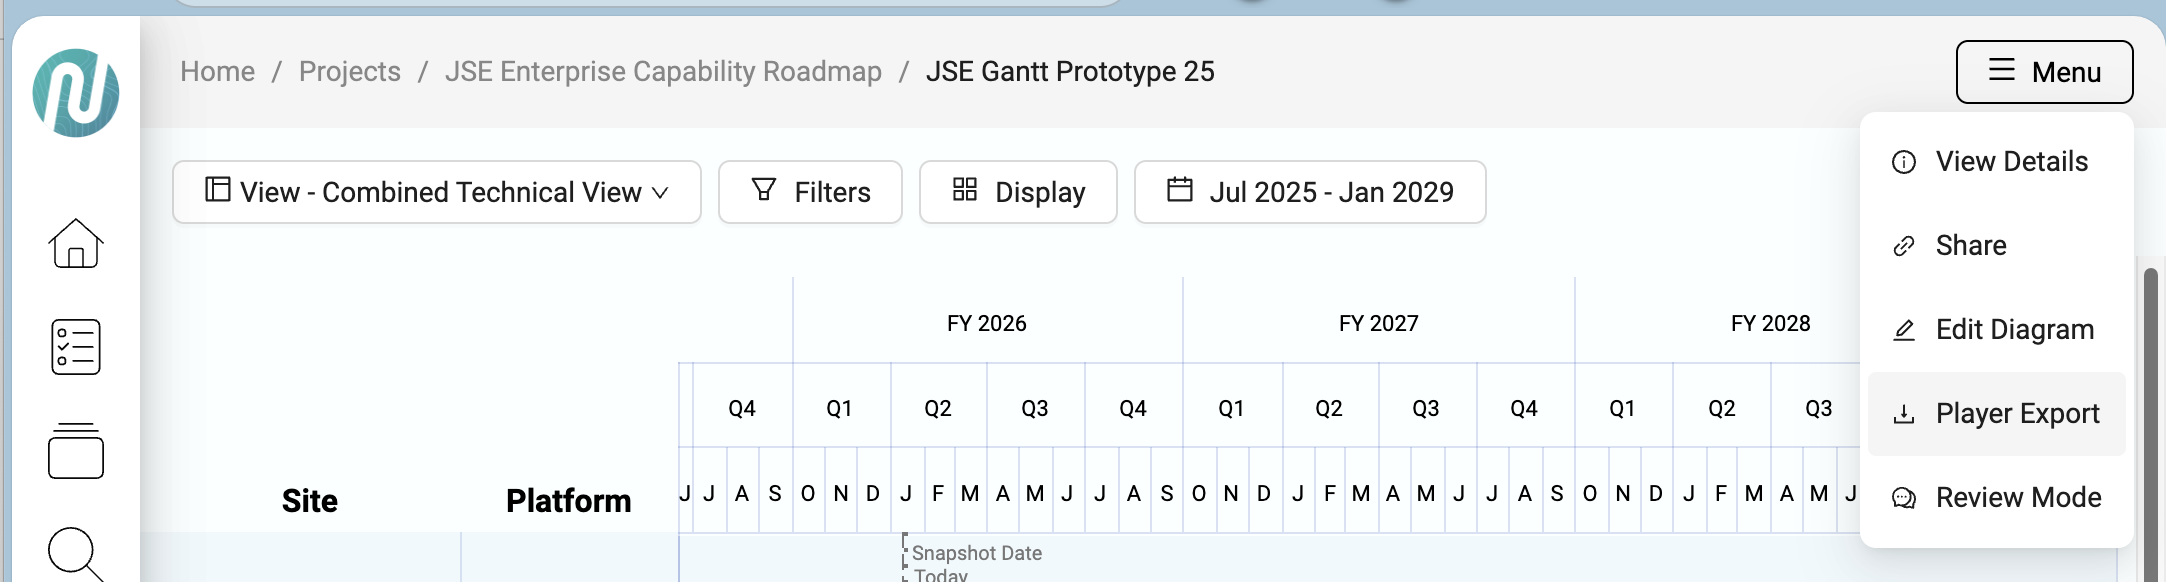
Navigate to the solution you want to export, click Menu, then Player Export and you'll get a zip file.

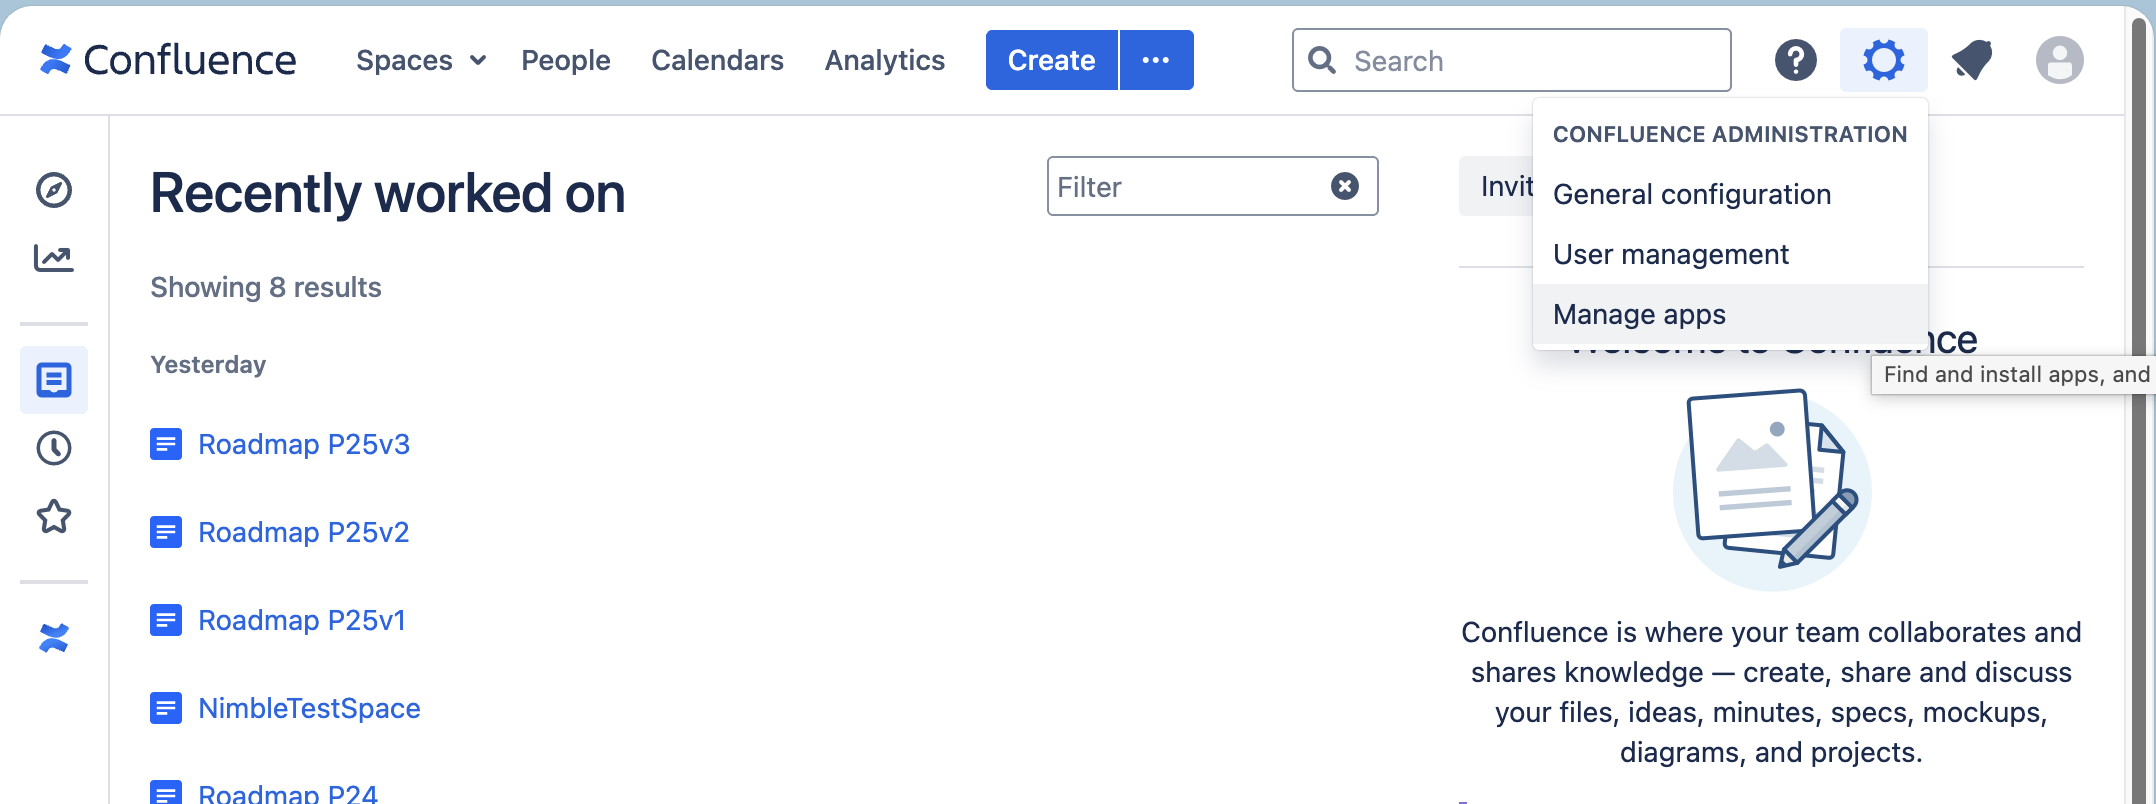
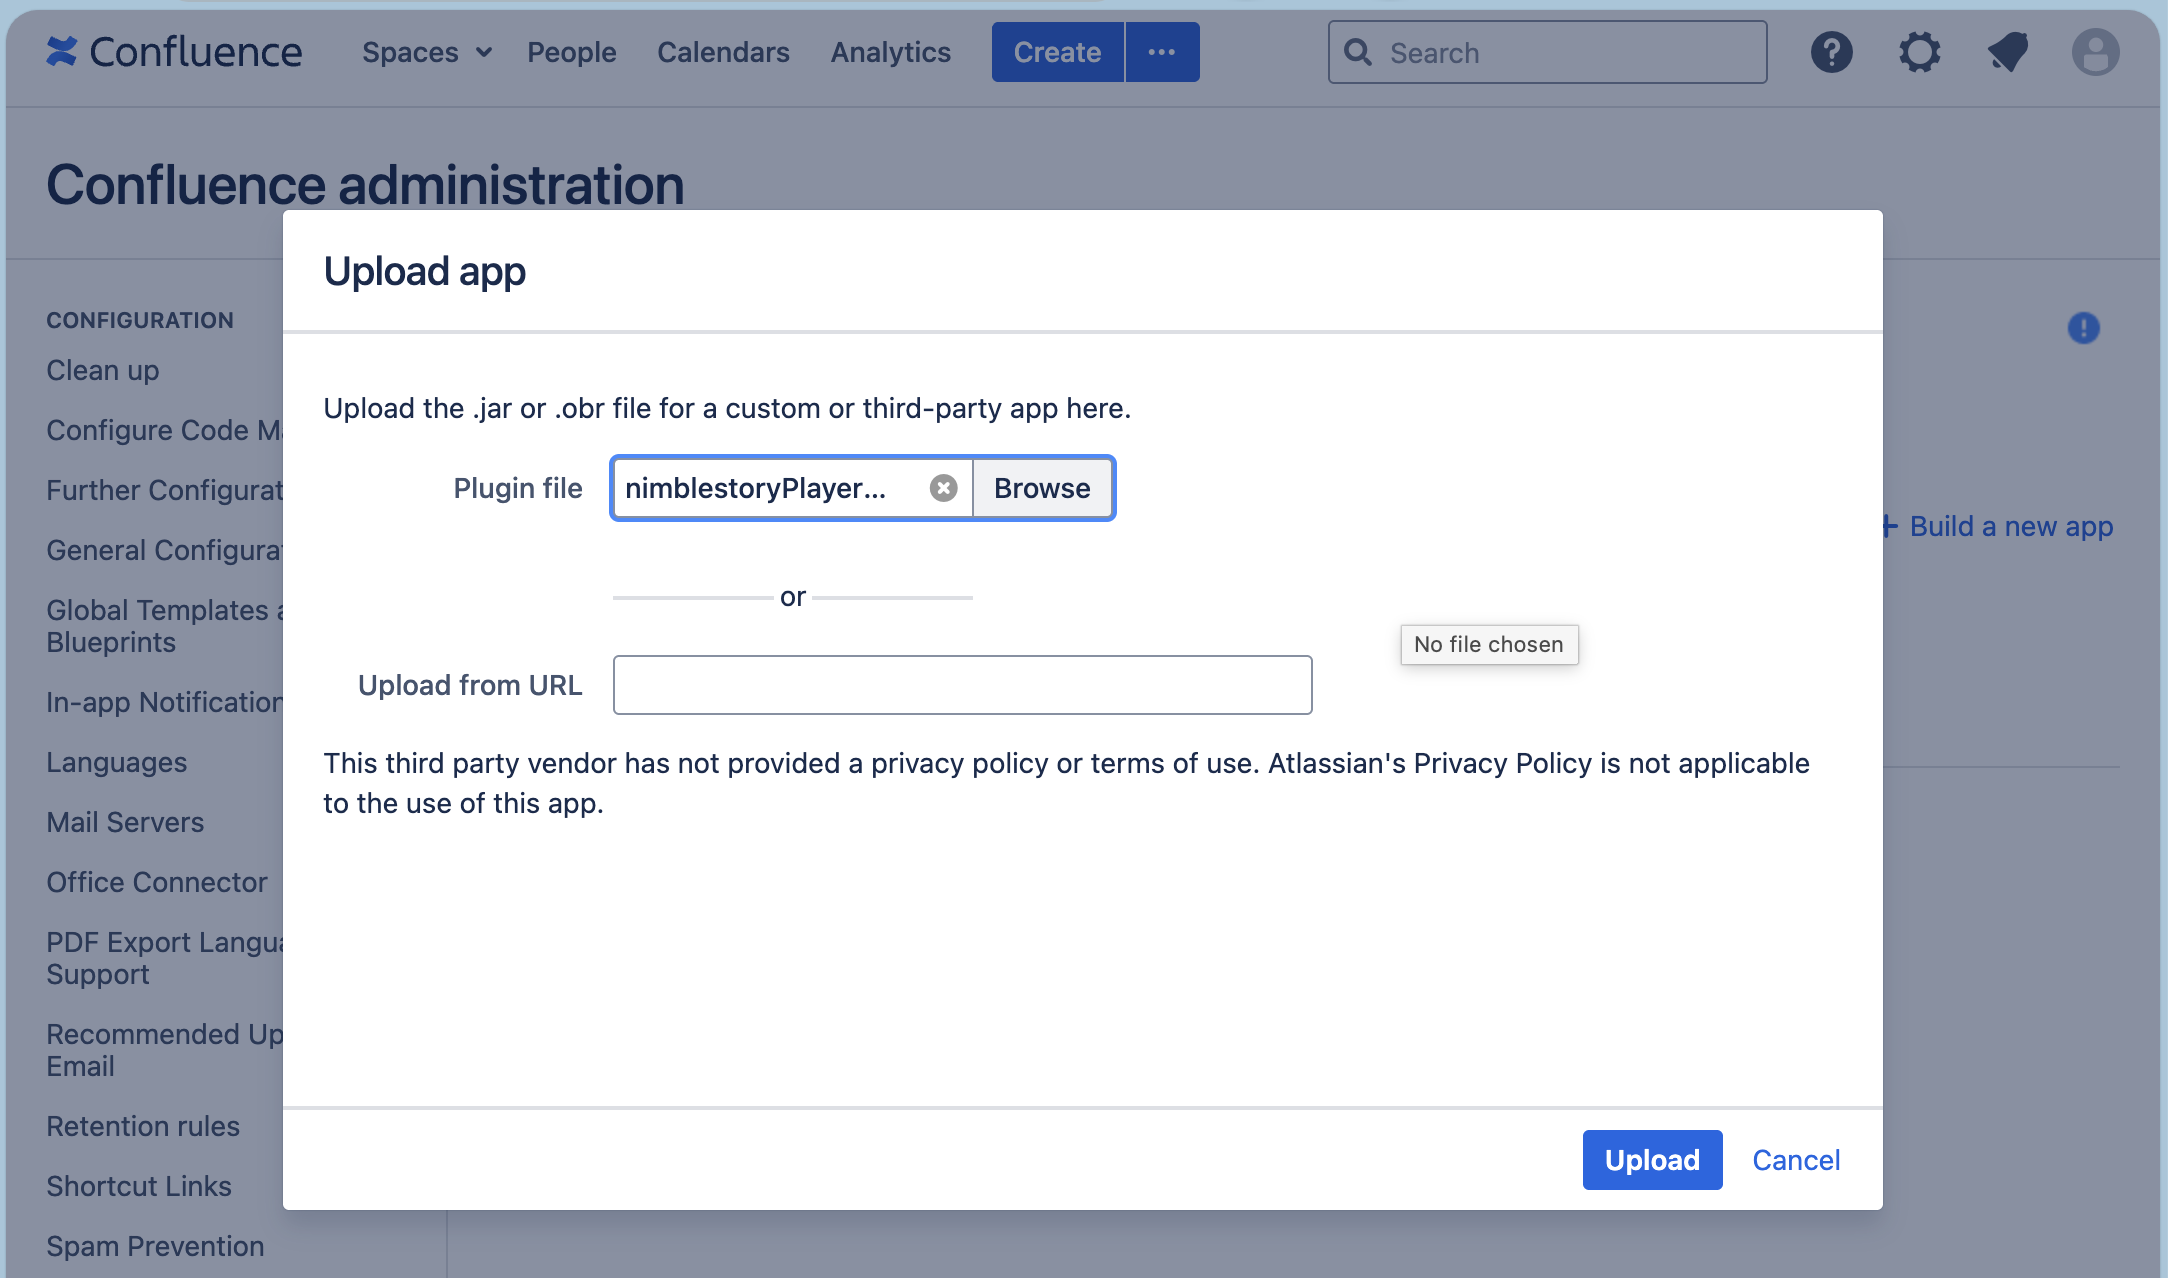
Install the Player in Confluence (Confluence Admin permissions required)
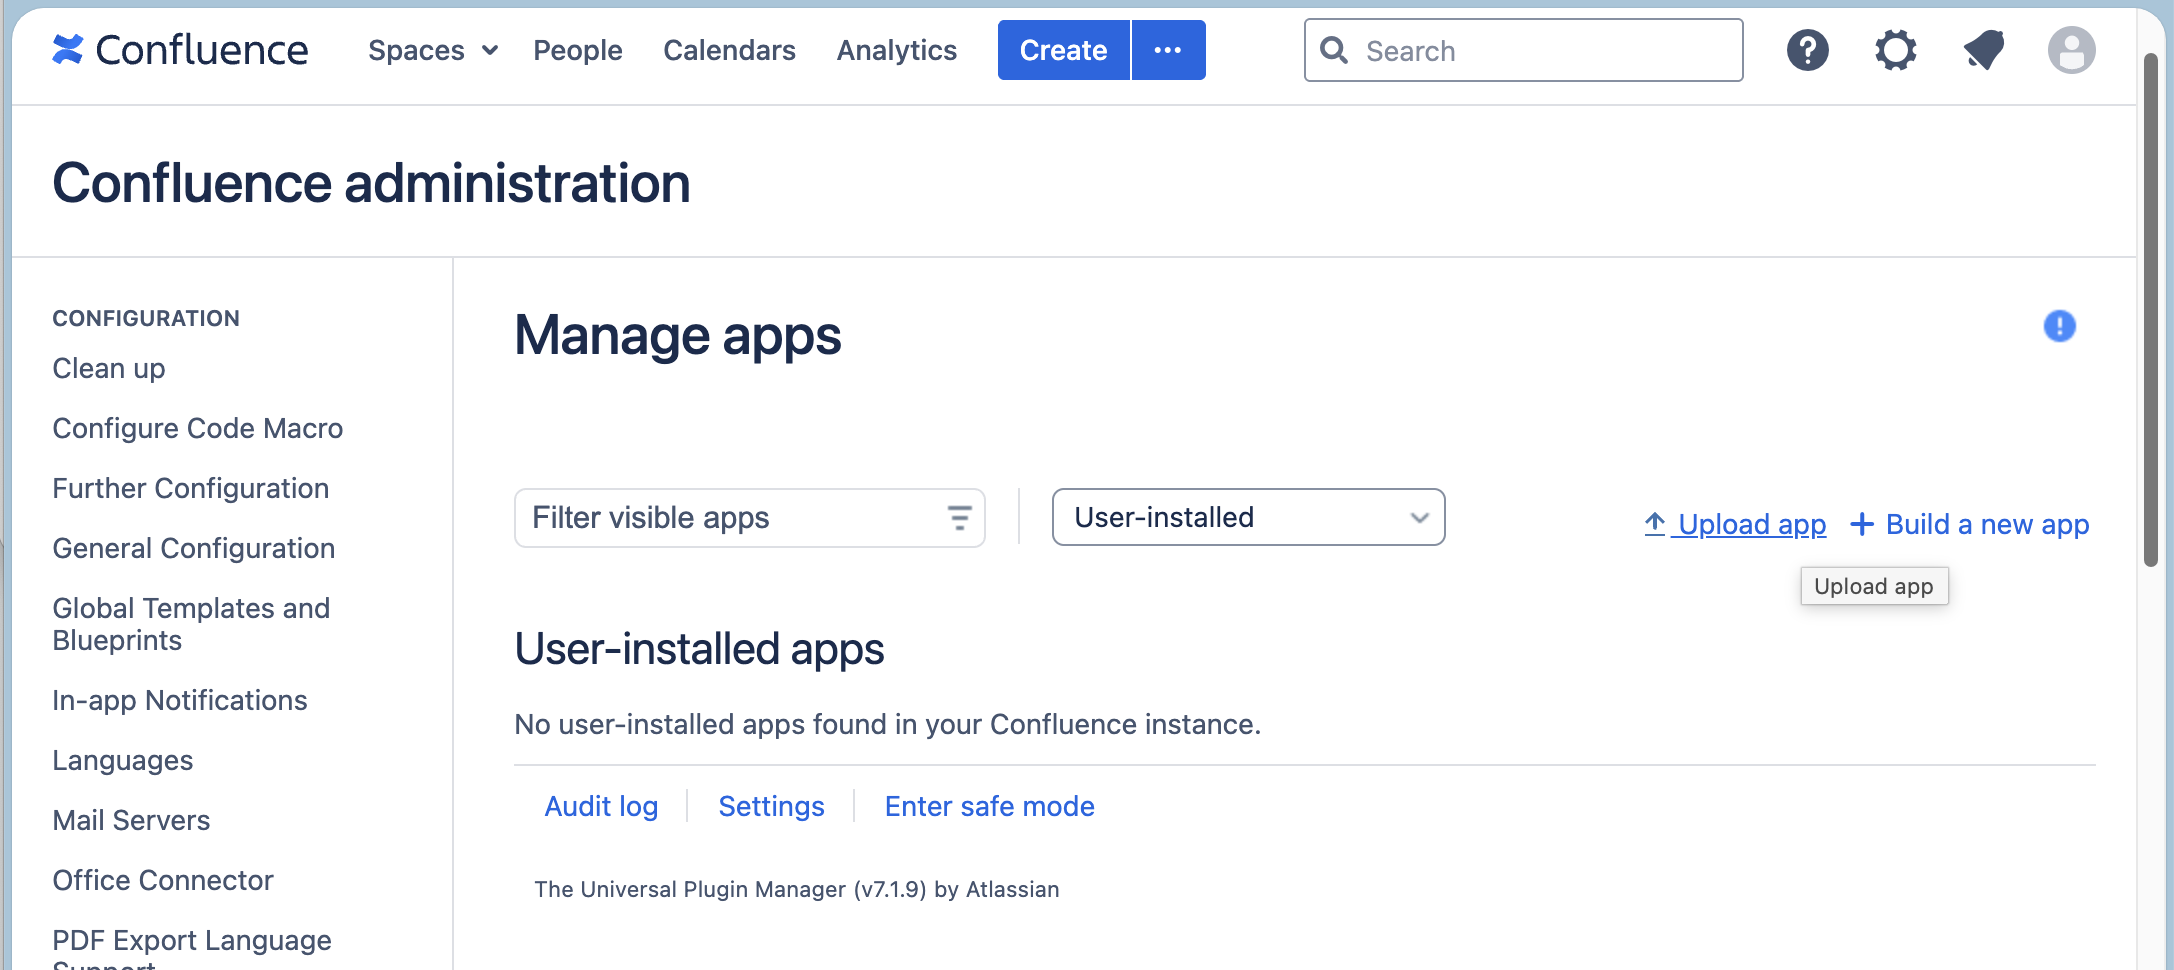
- Access your Confluence Environment and open the Manage Apps page
- Upload the NimbleStory Player JAR file you downloaded
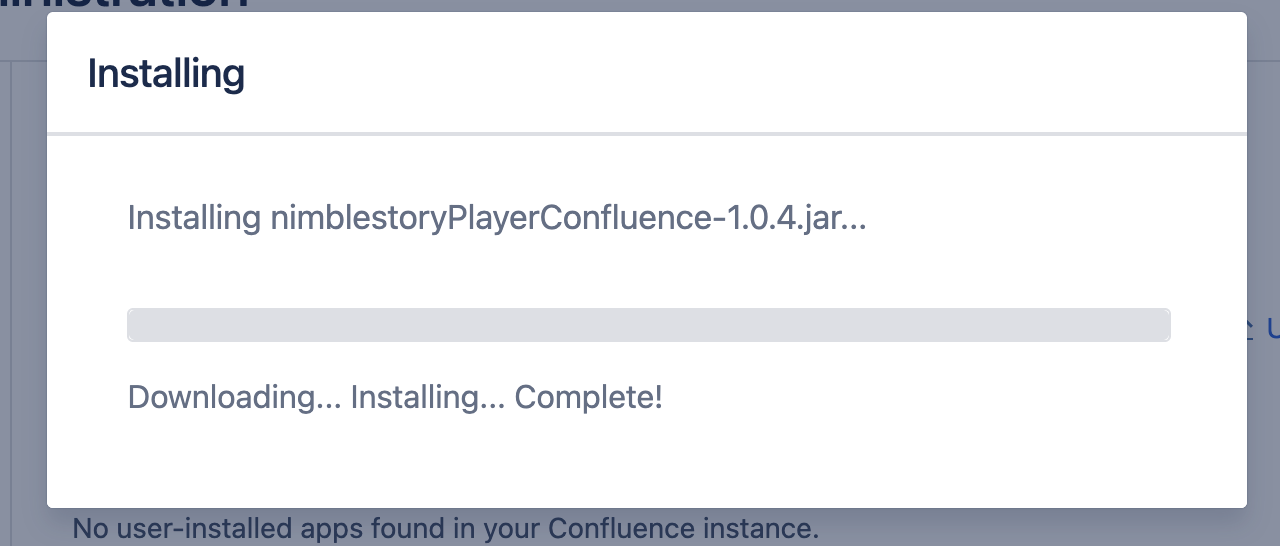
- Make sure it installs completely
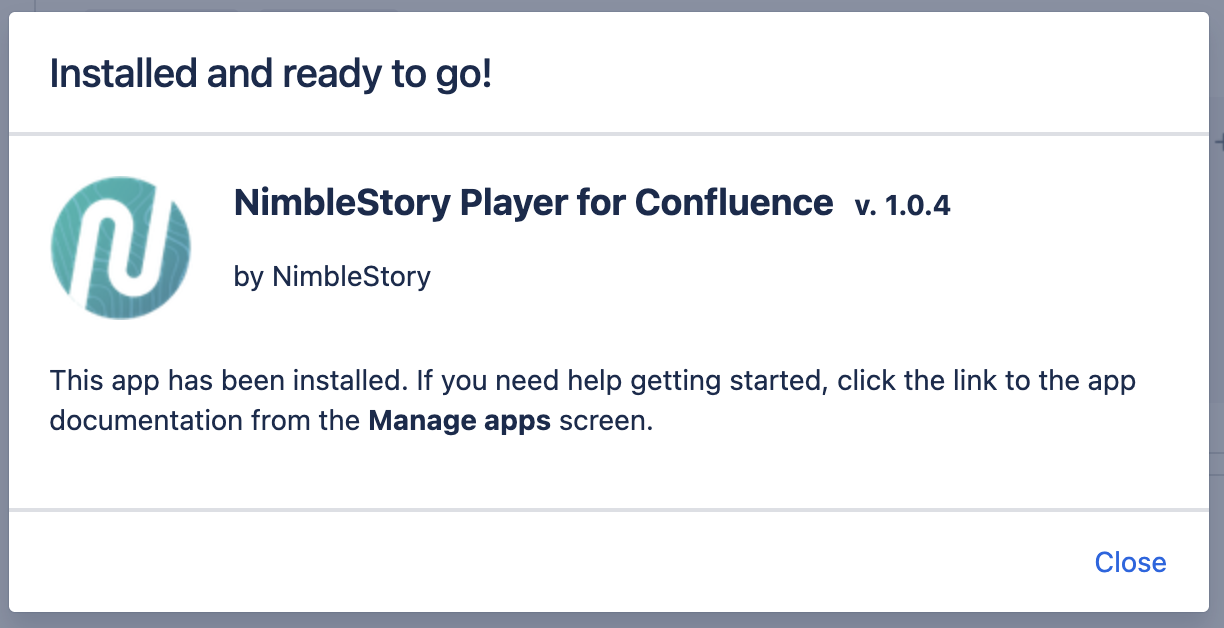
- You should see a confirmation message like this
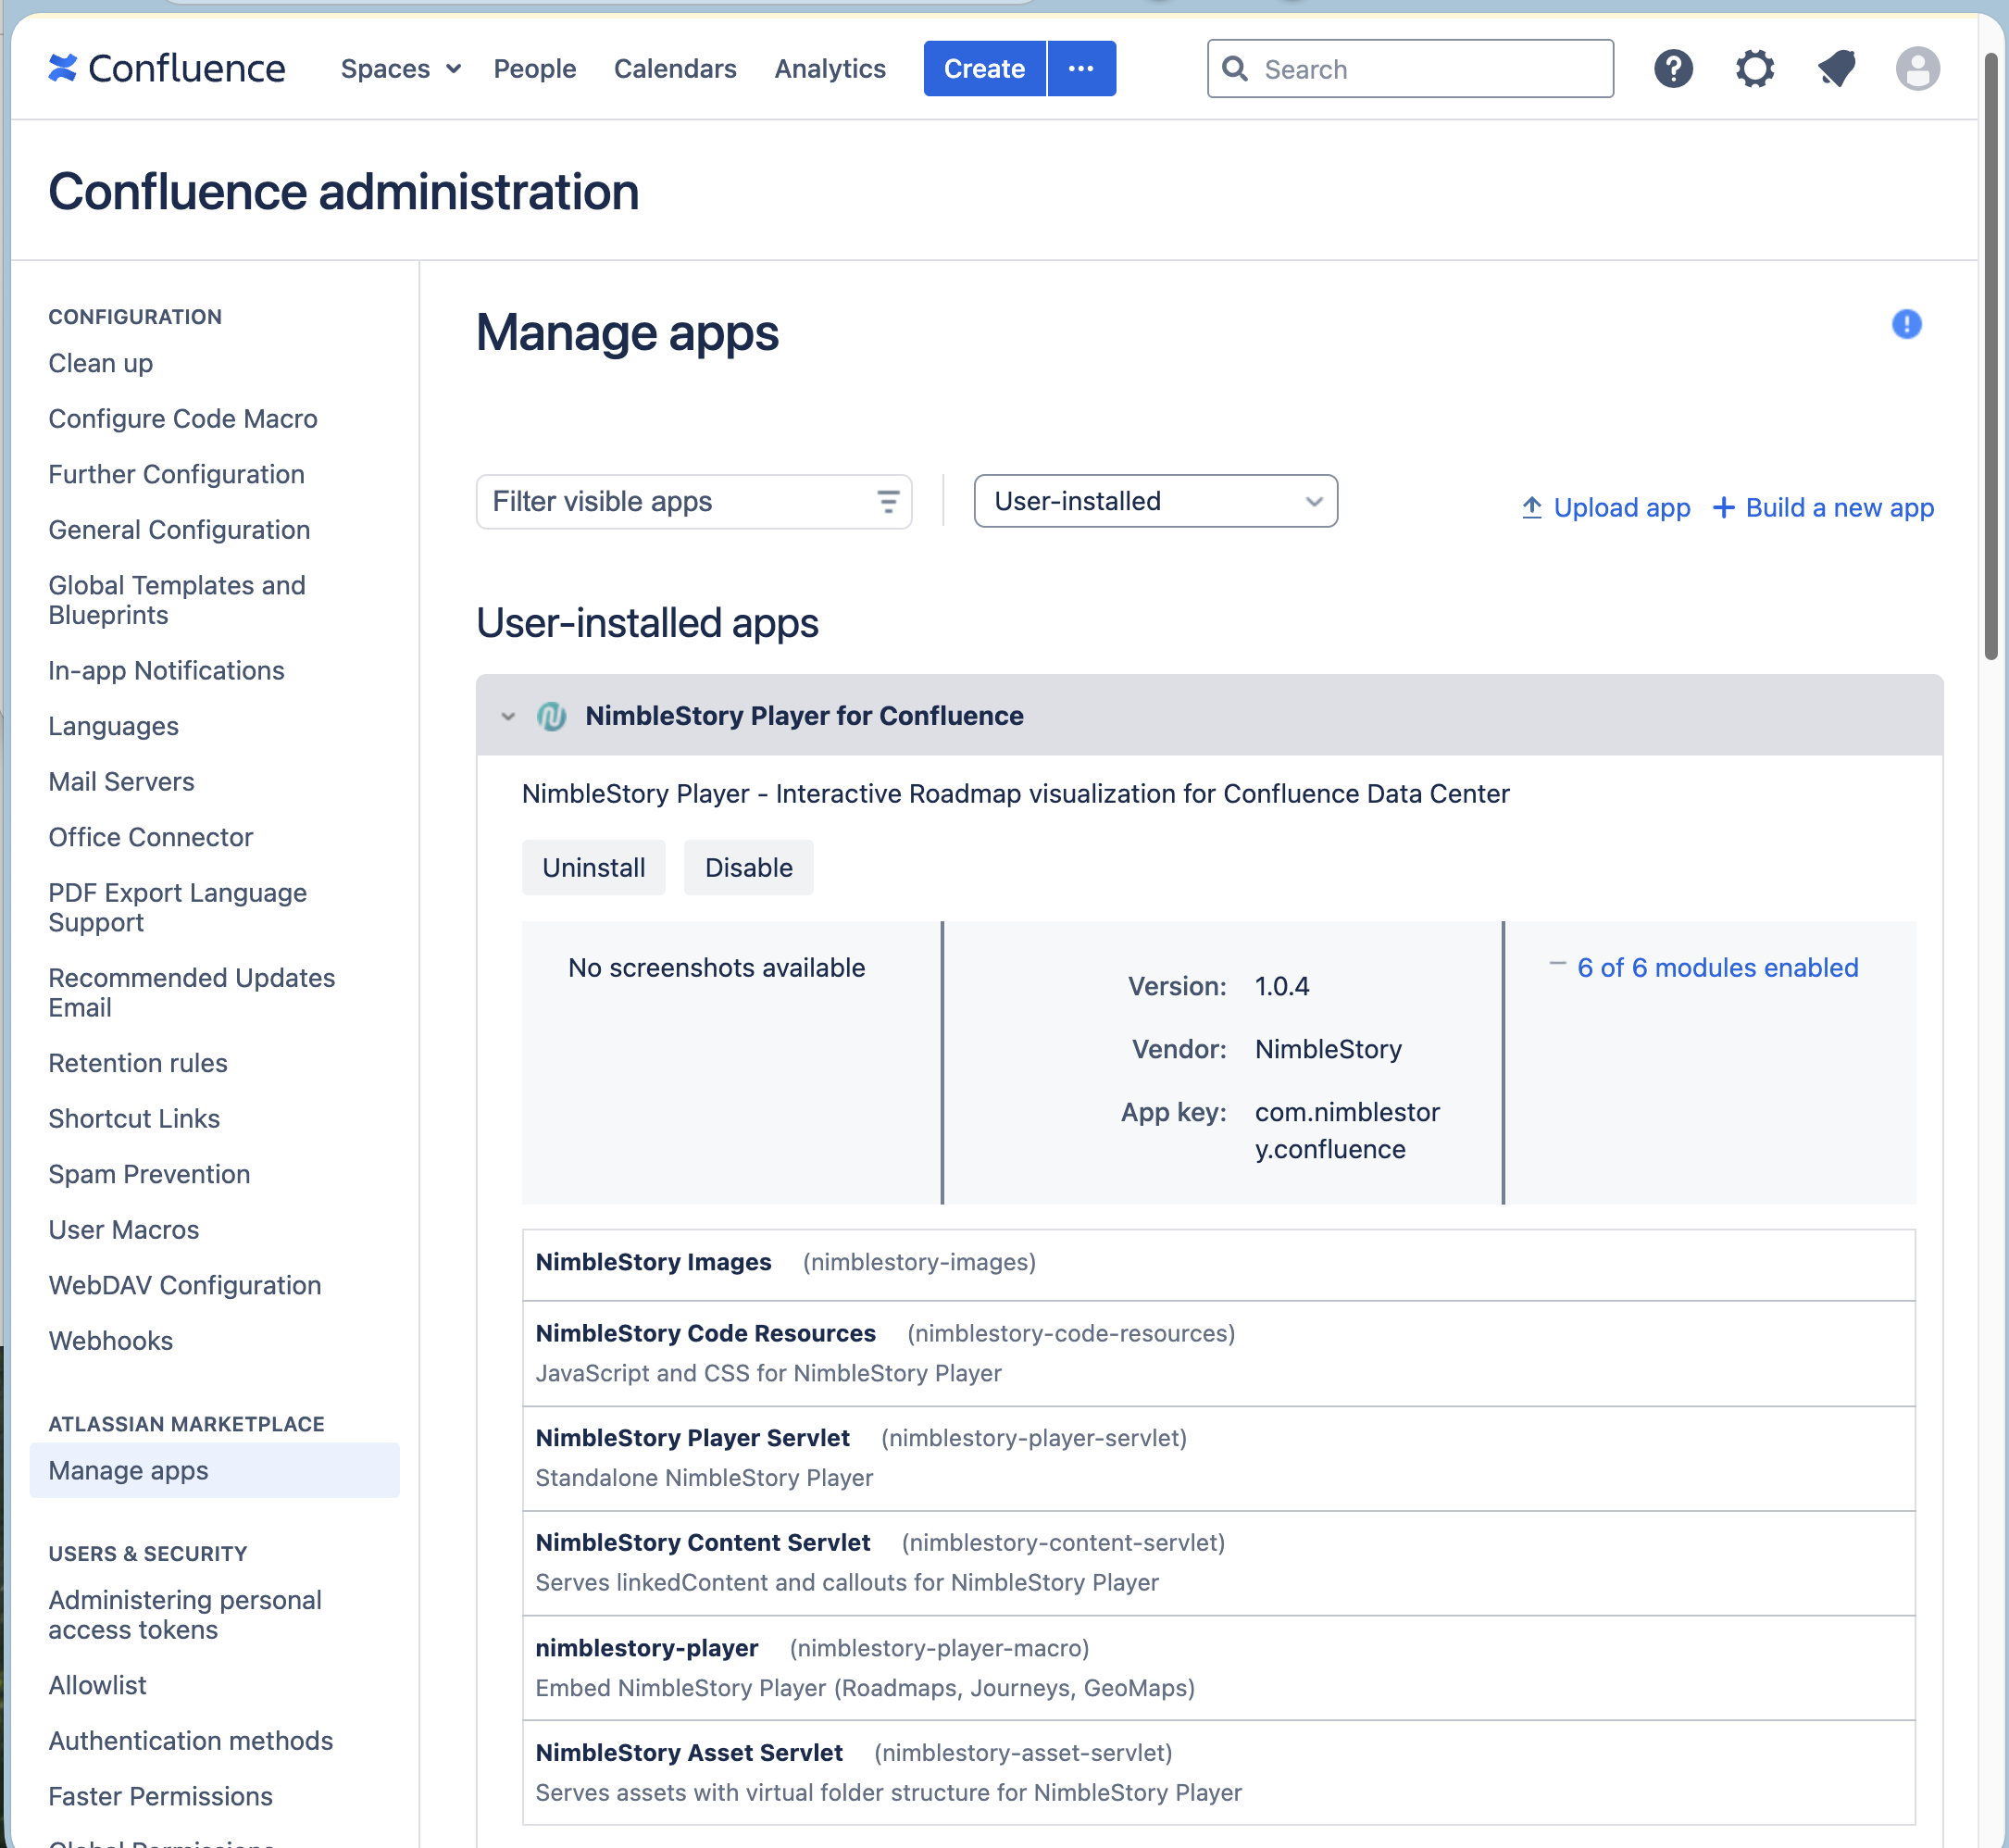
- Then an output screen like this (expanded to show all 6 modules)
Create/ Configure a Page with the Content/Data
-
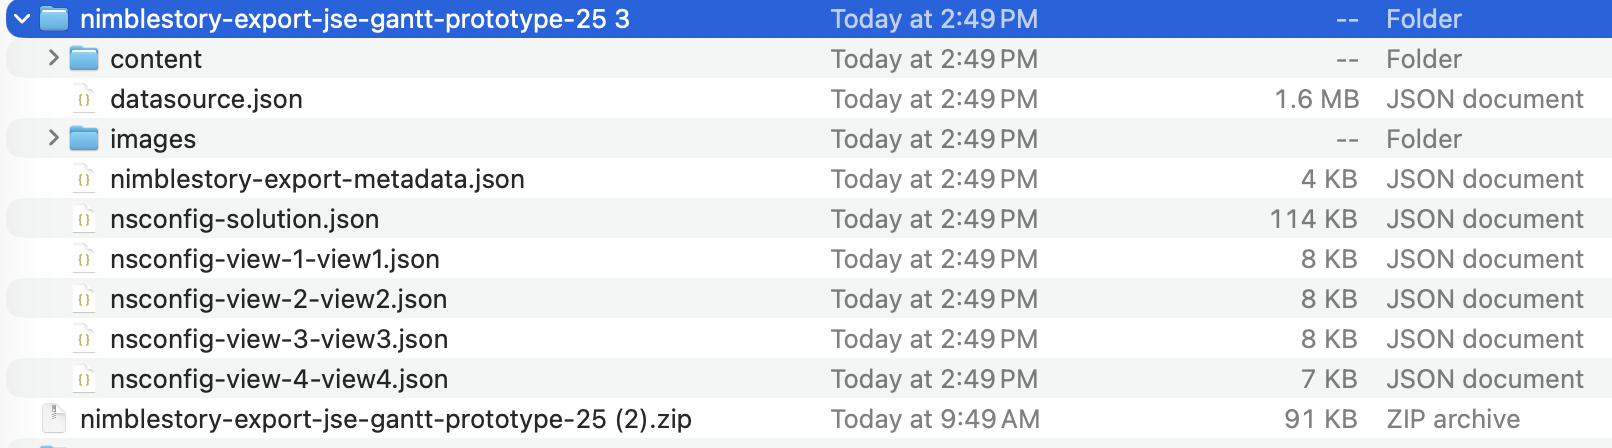
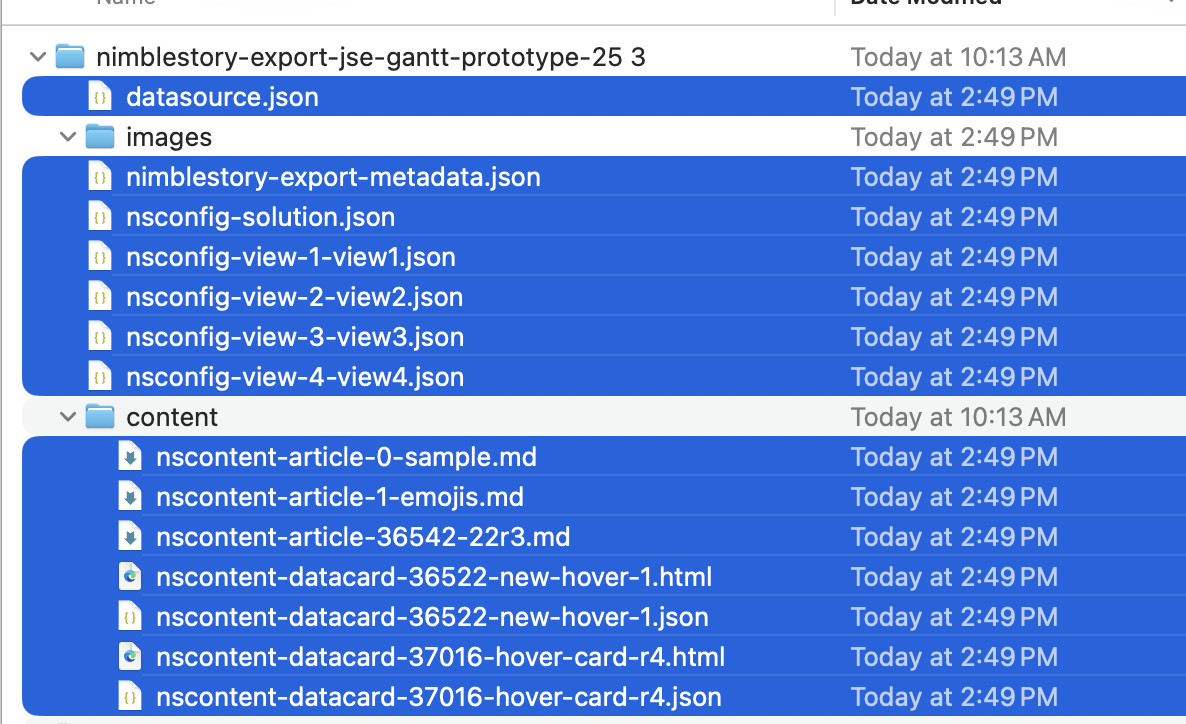
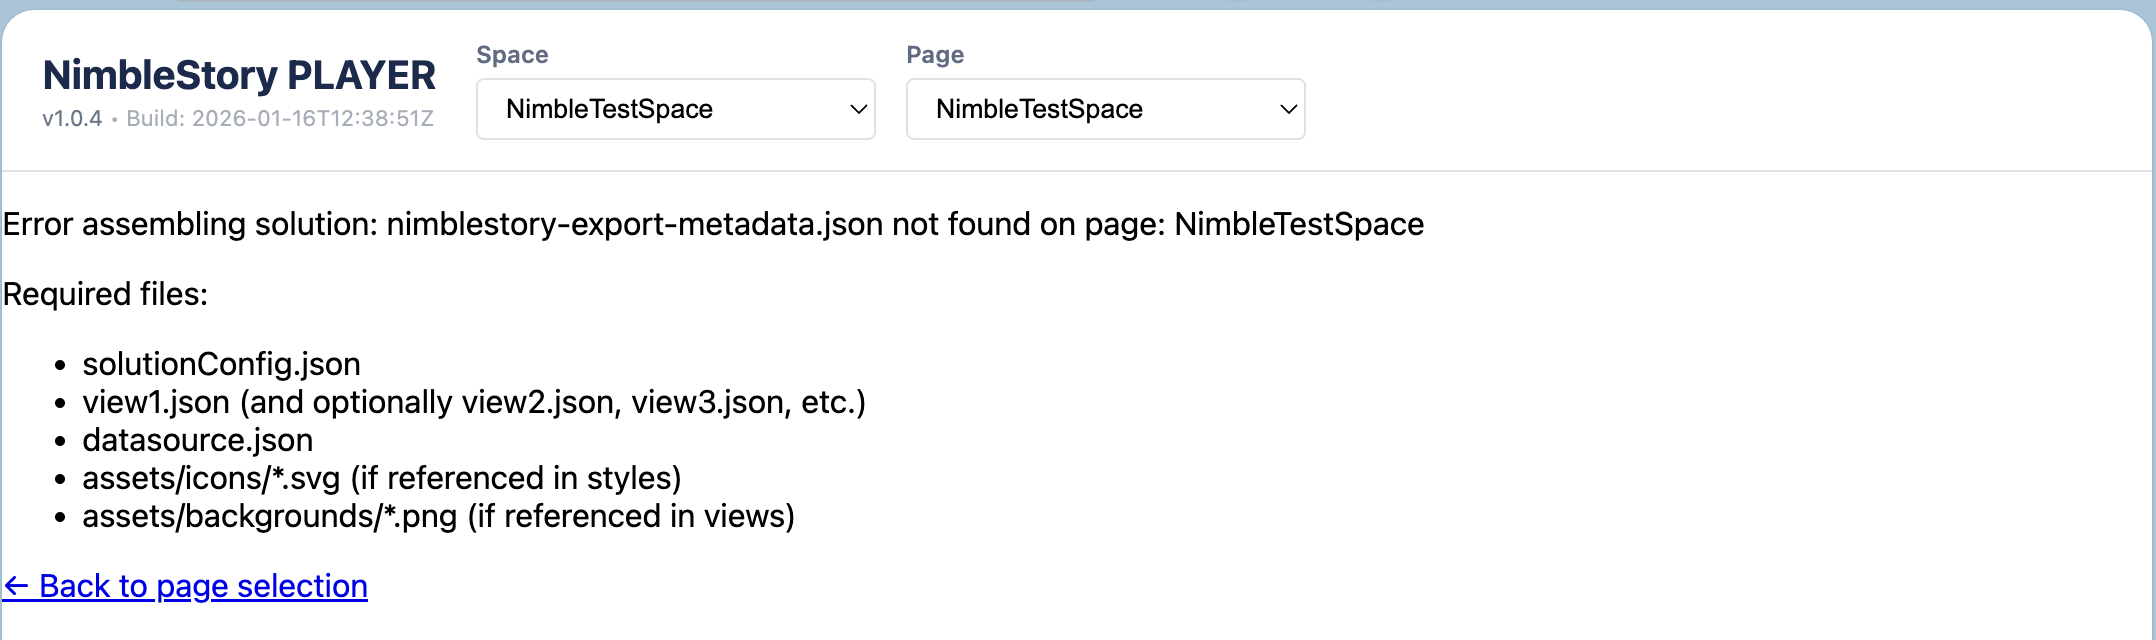
The NimbleStory Player for Confluence requires the downloaded content/ configuration be loaded into page attachments, you will need to expand that zip file on your local machine to see the files
-
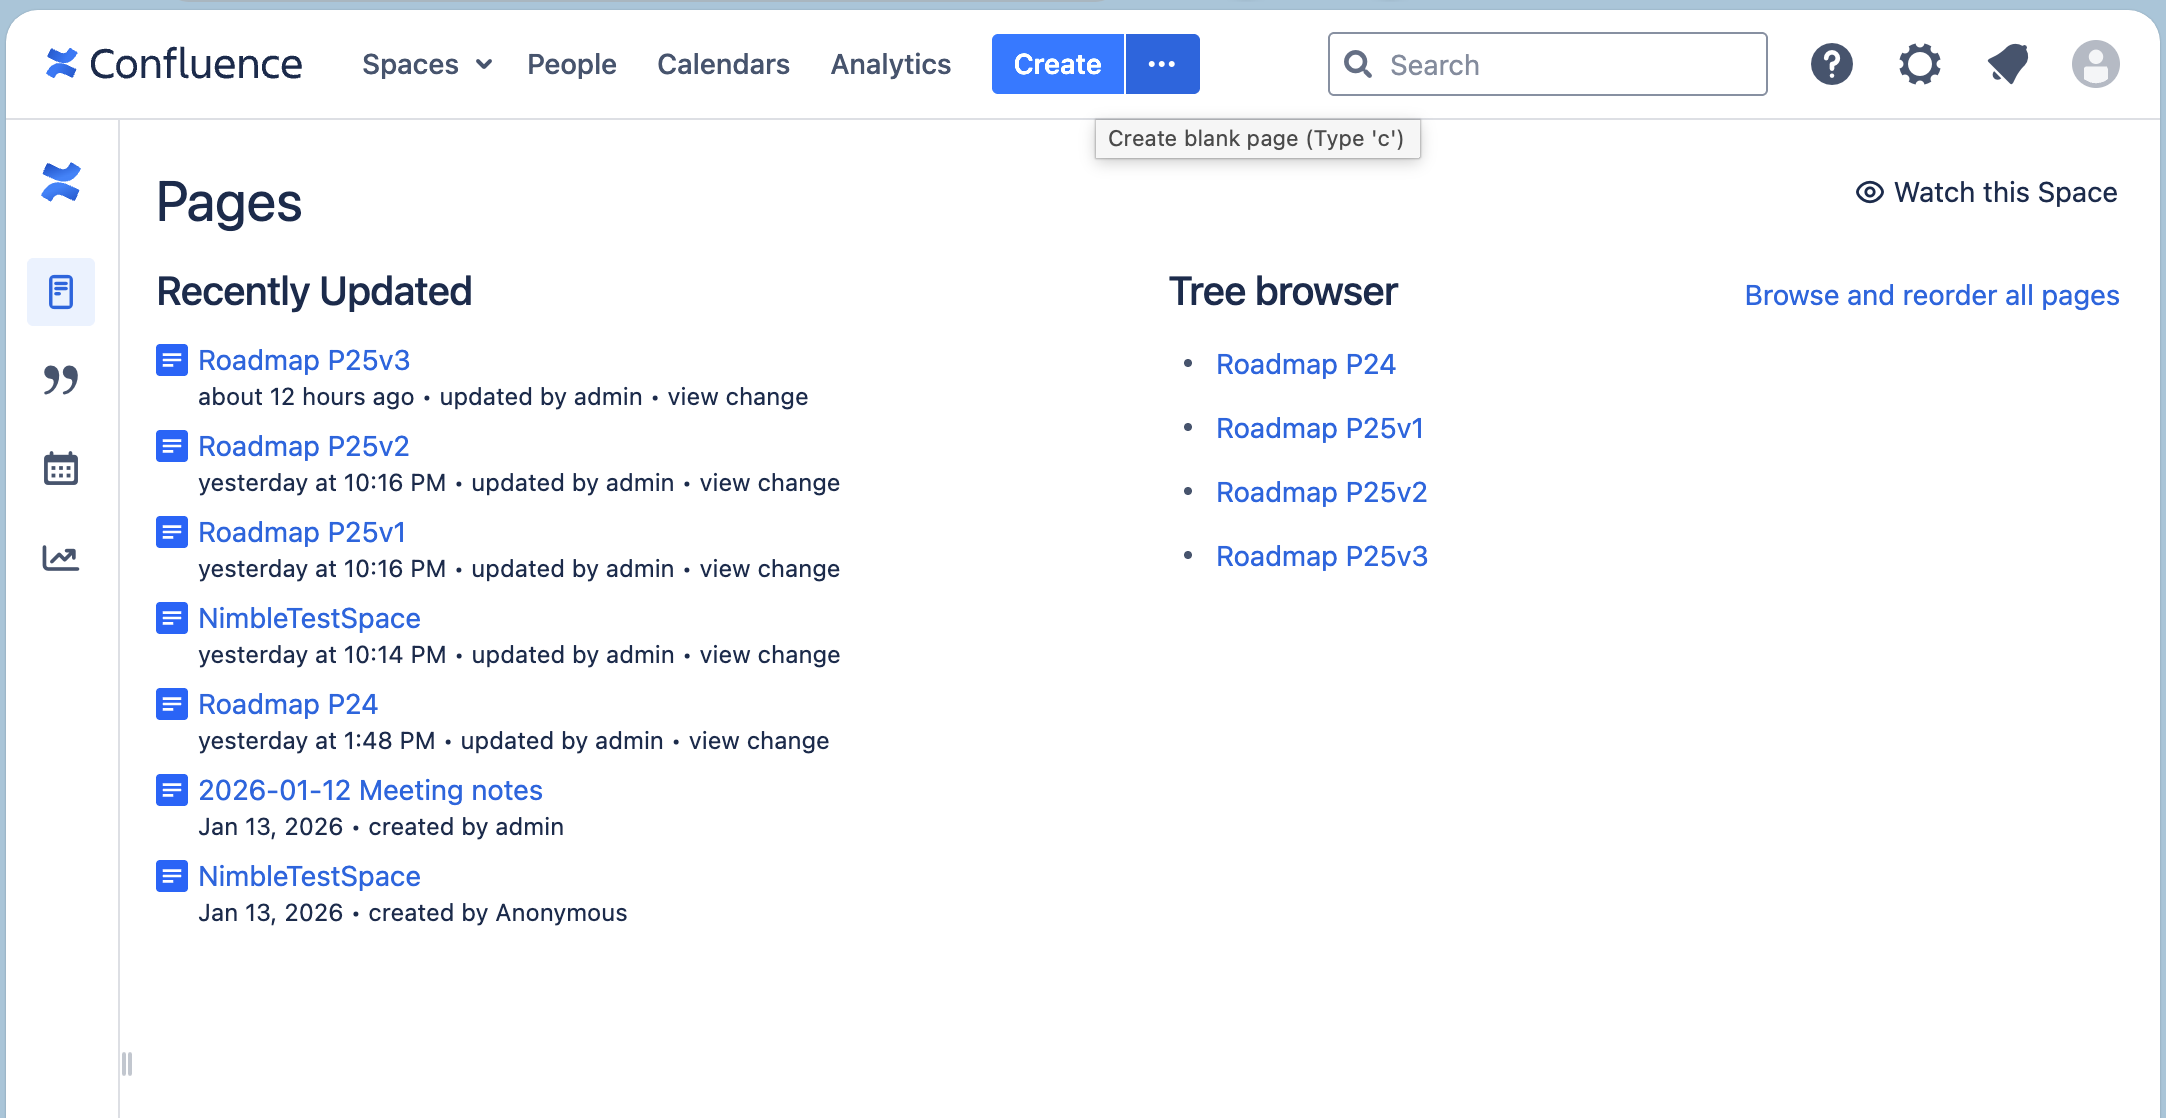
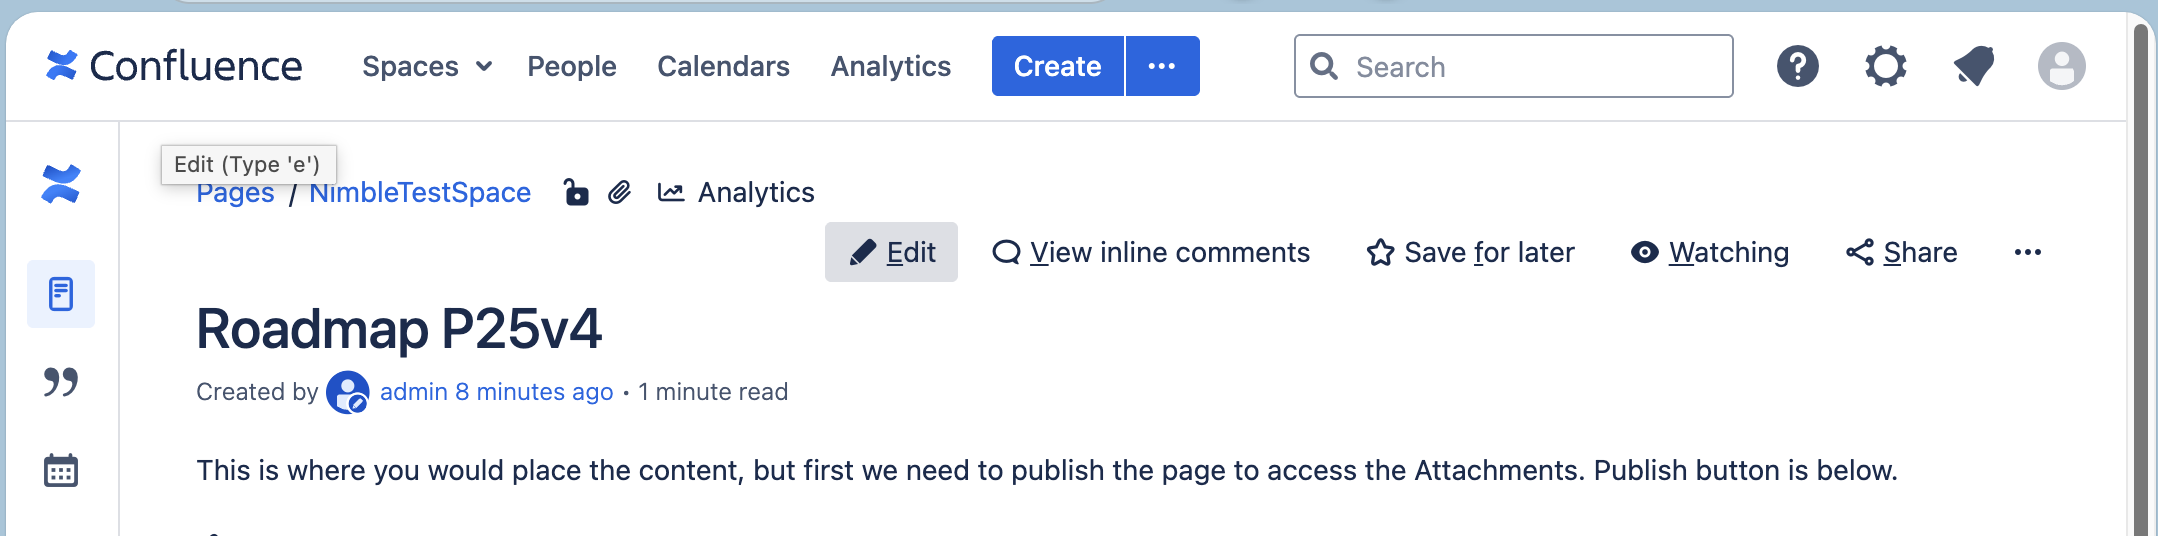
In Confluence, create or use an existing page for this purpose.
-
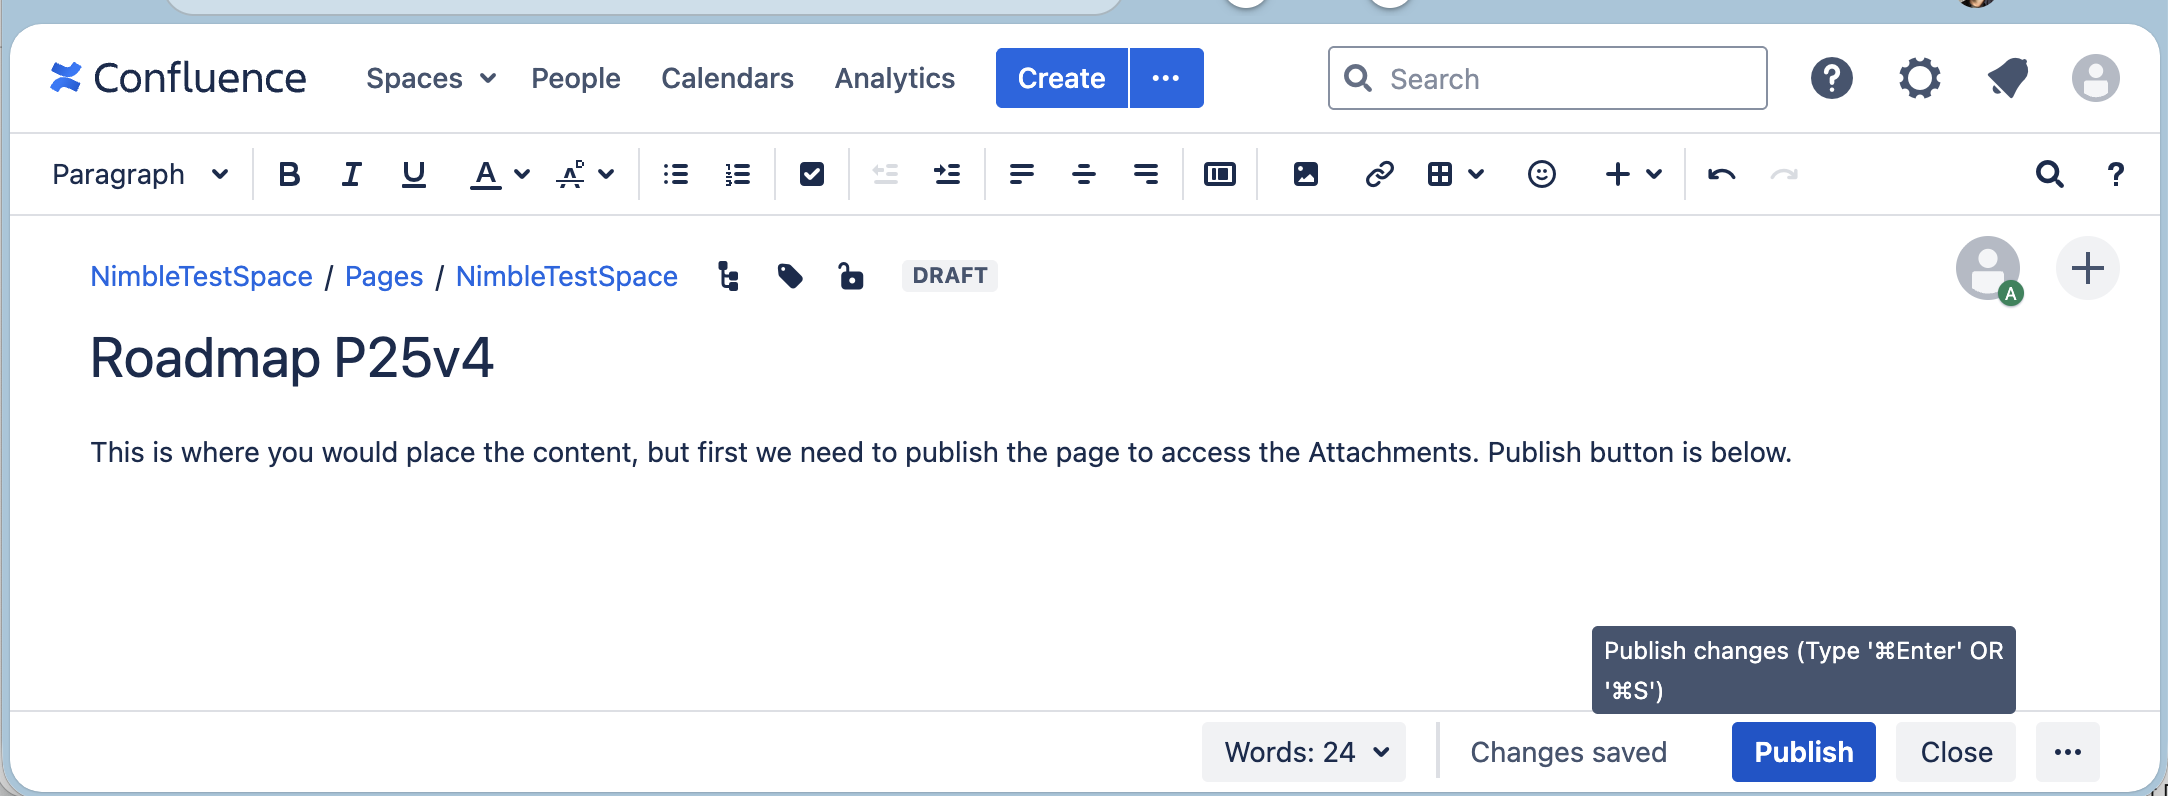
Give it at least a title (rest can be blank) and Save/Publish the page.
-
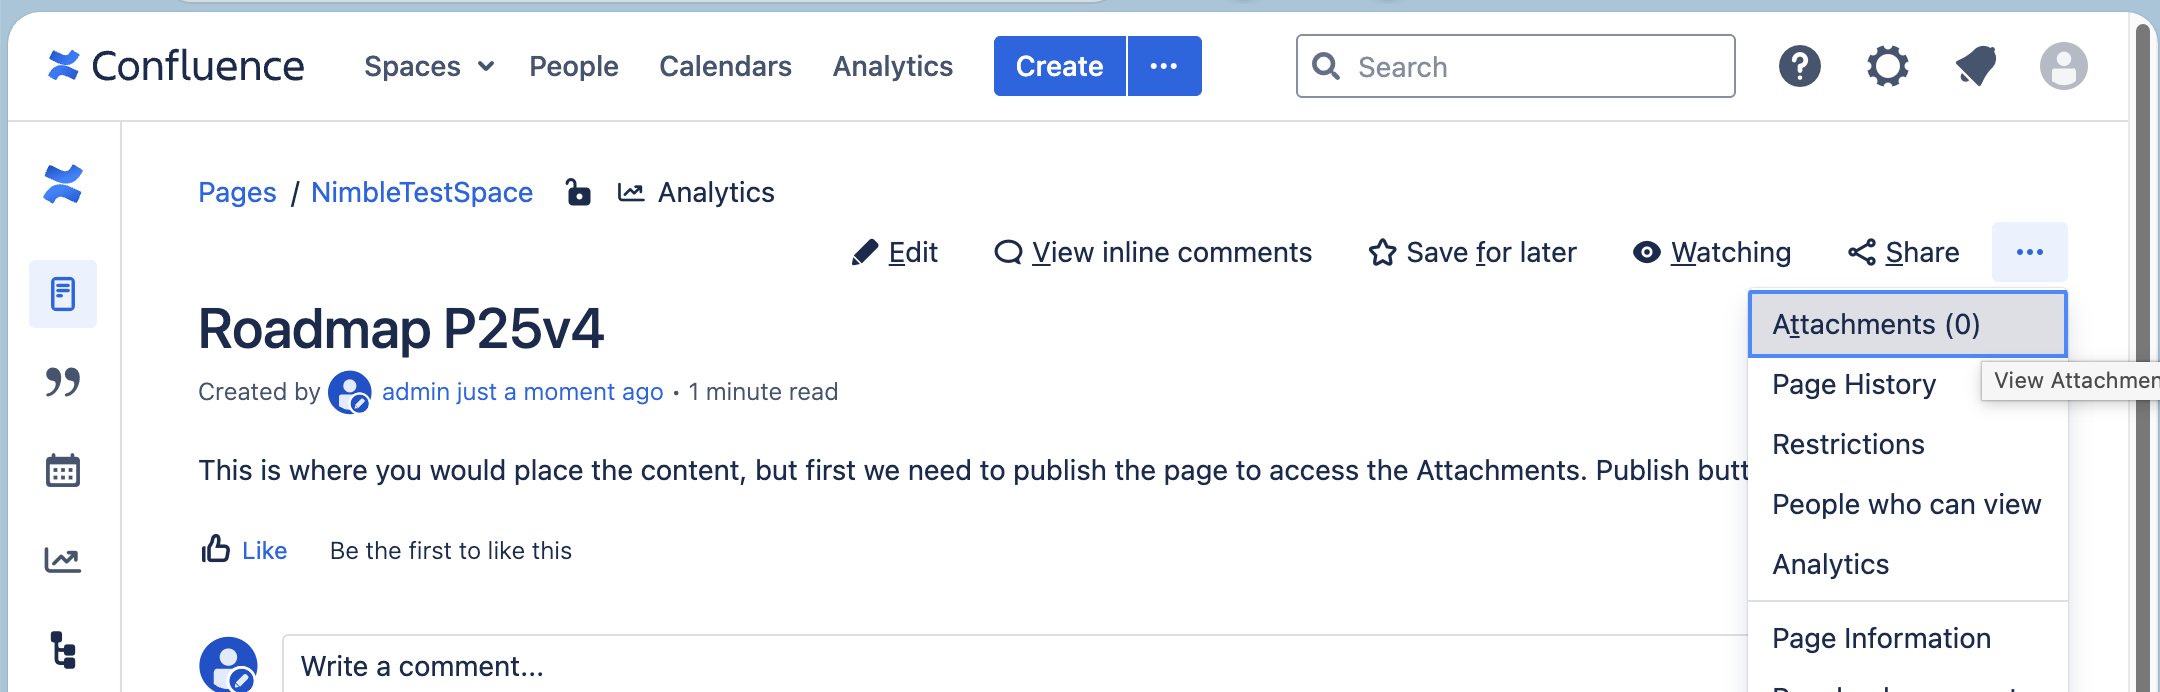
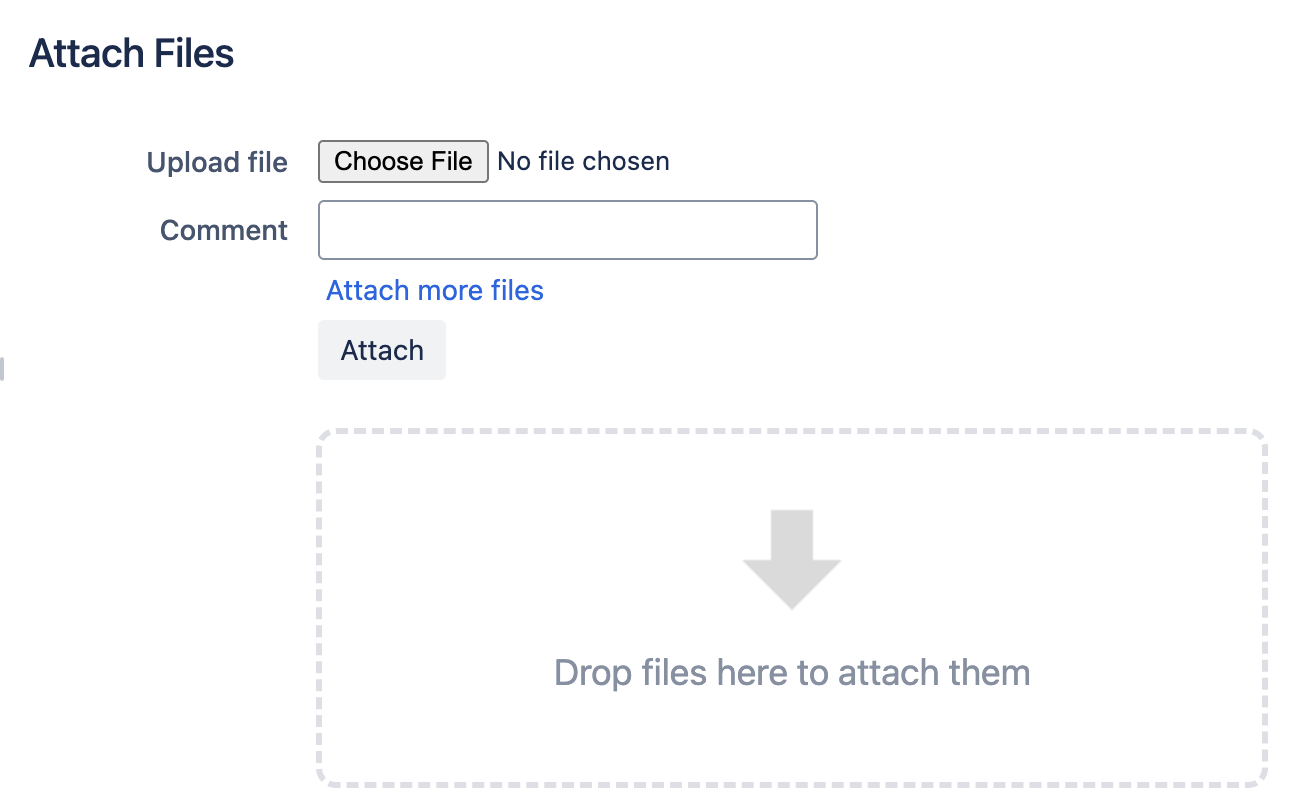
Now open the page's attachments list
-
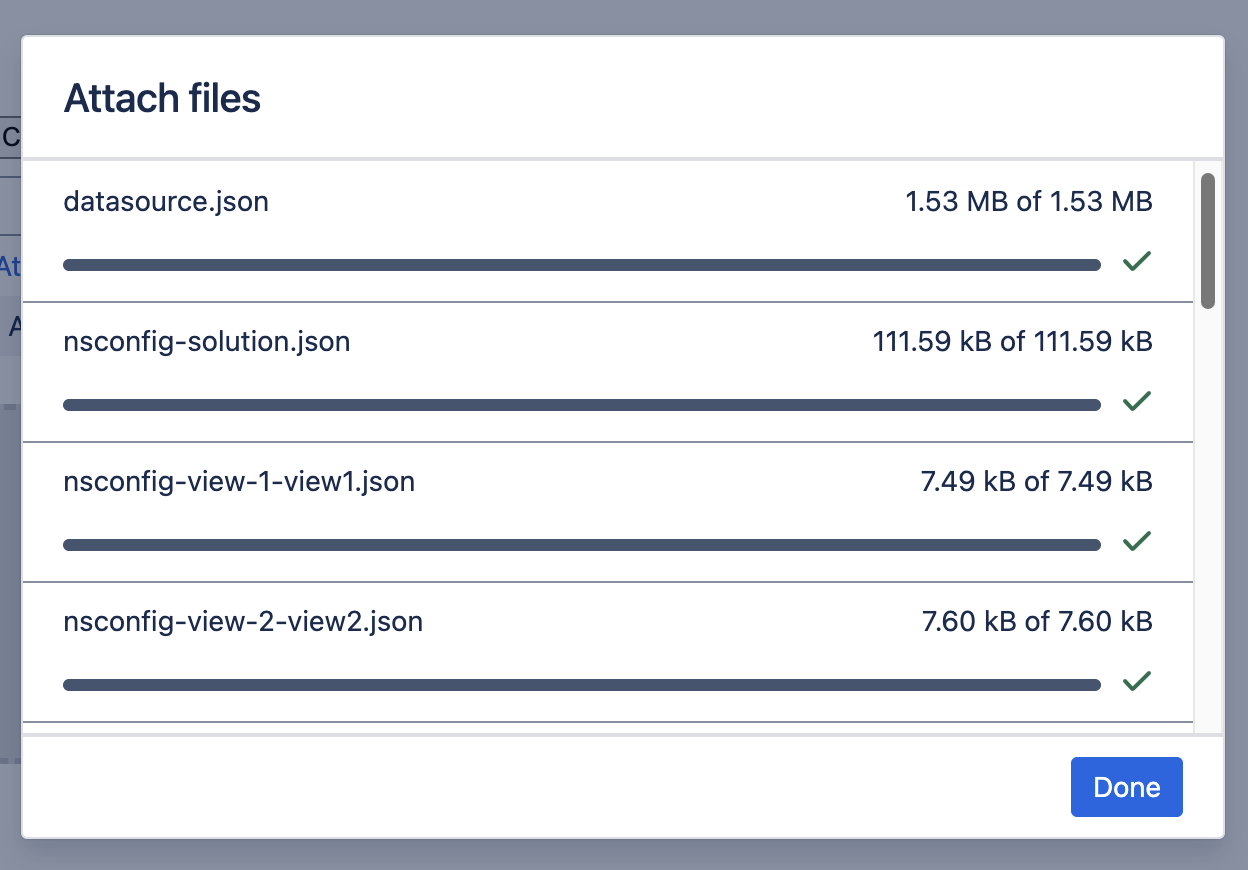
Upload the NimbleStory export files into the attachments
-
Confluence does not support folders so just copy the files as shown here, ignoring the folders they are in, from the export.
- Make sure they all load, if you get a warning, make note of it as the solution will not work without these files.

-
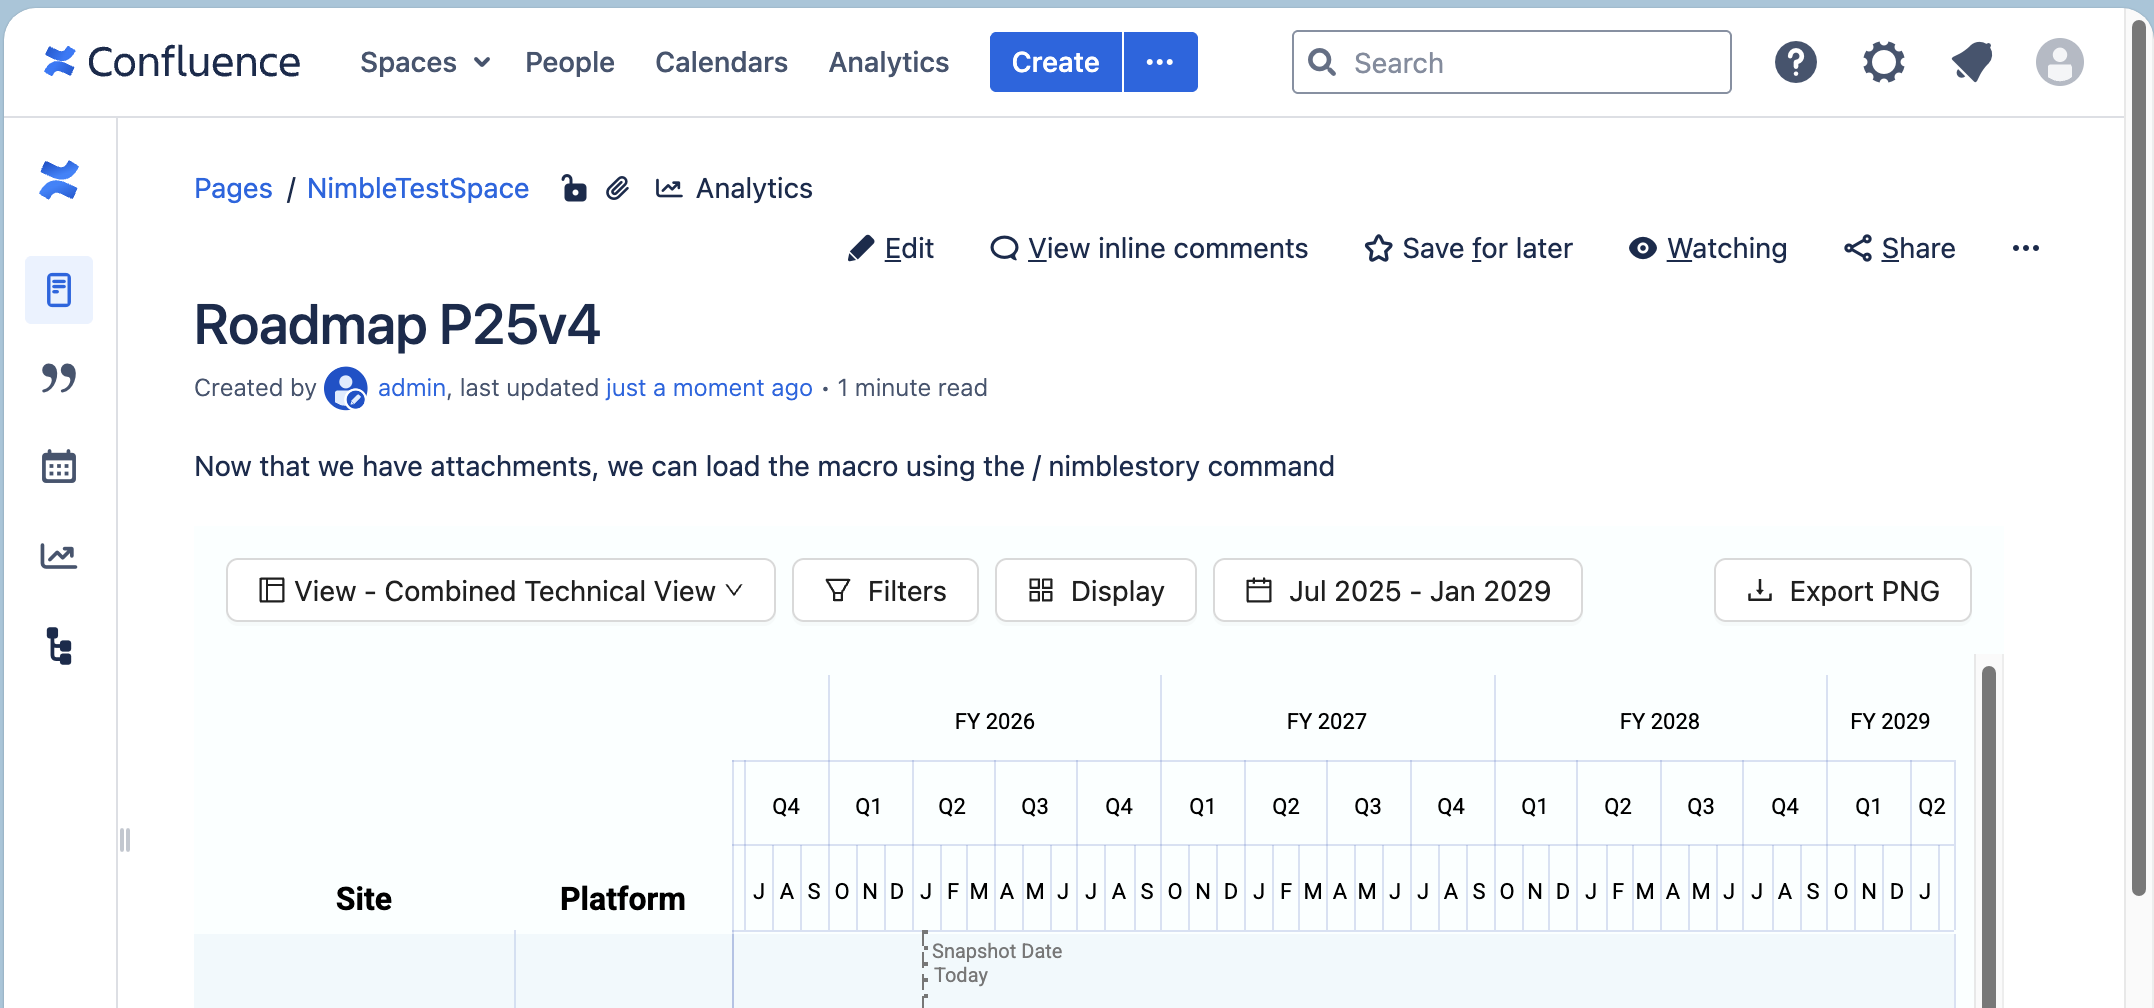
Next, you can go back to the Edit view of the page and add the NimbleStory Macro
-
Use slash command /NimbleStory to invoke the Macro and select it.
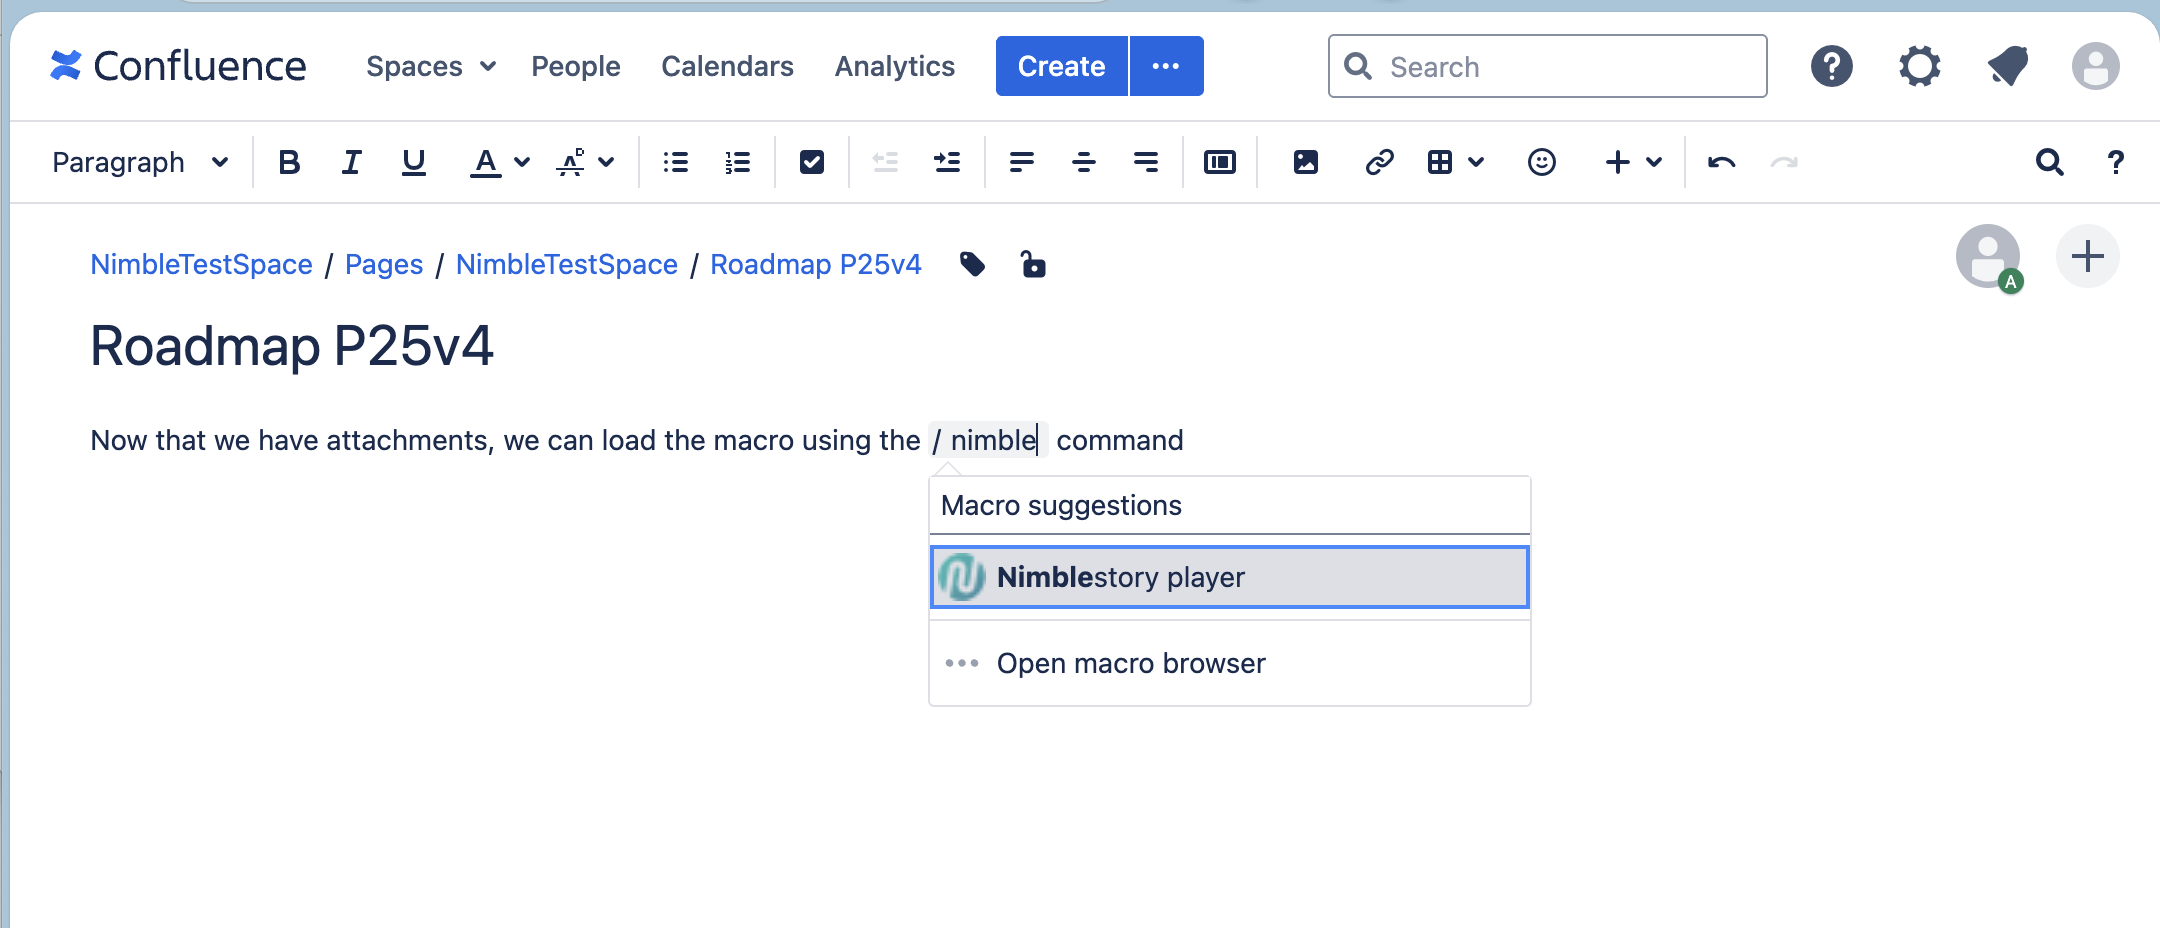
-
Then right click to edit it and set a height/width that works for the page. These can be % or px based.
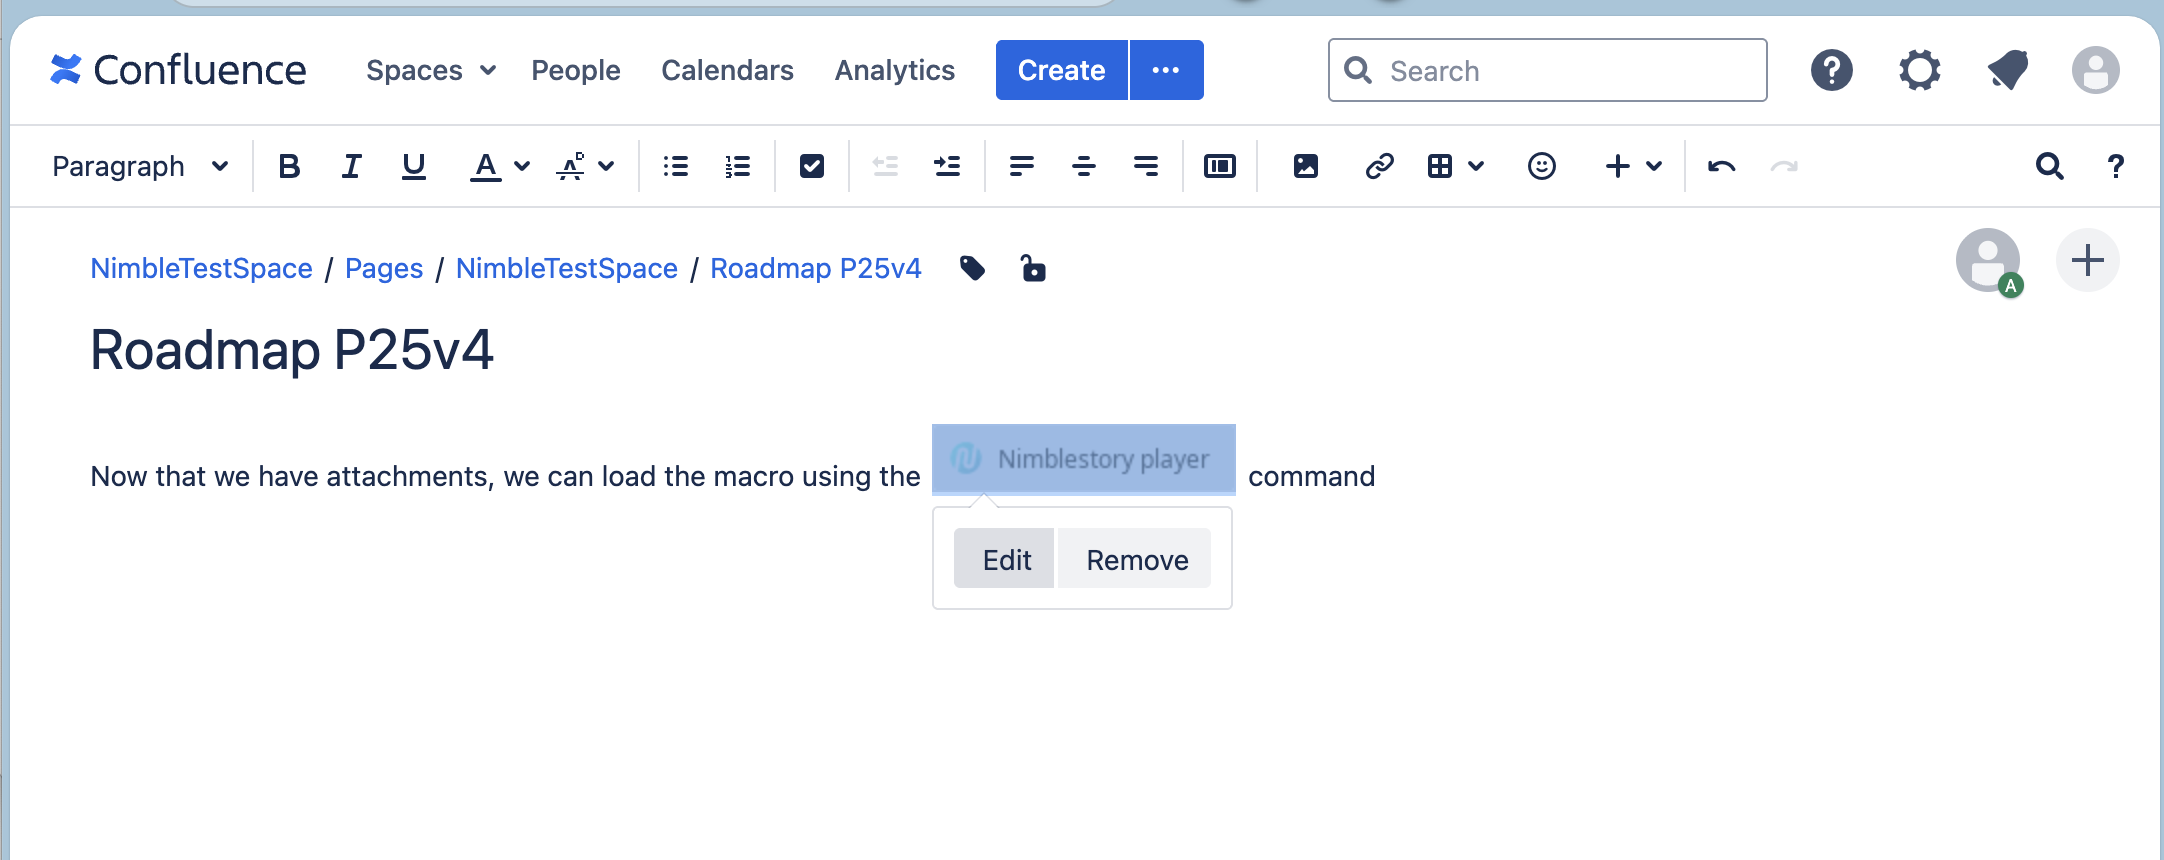
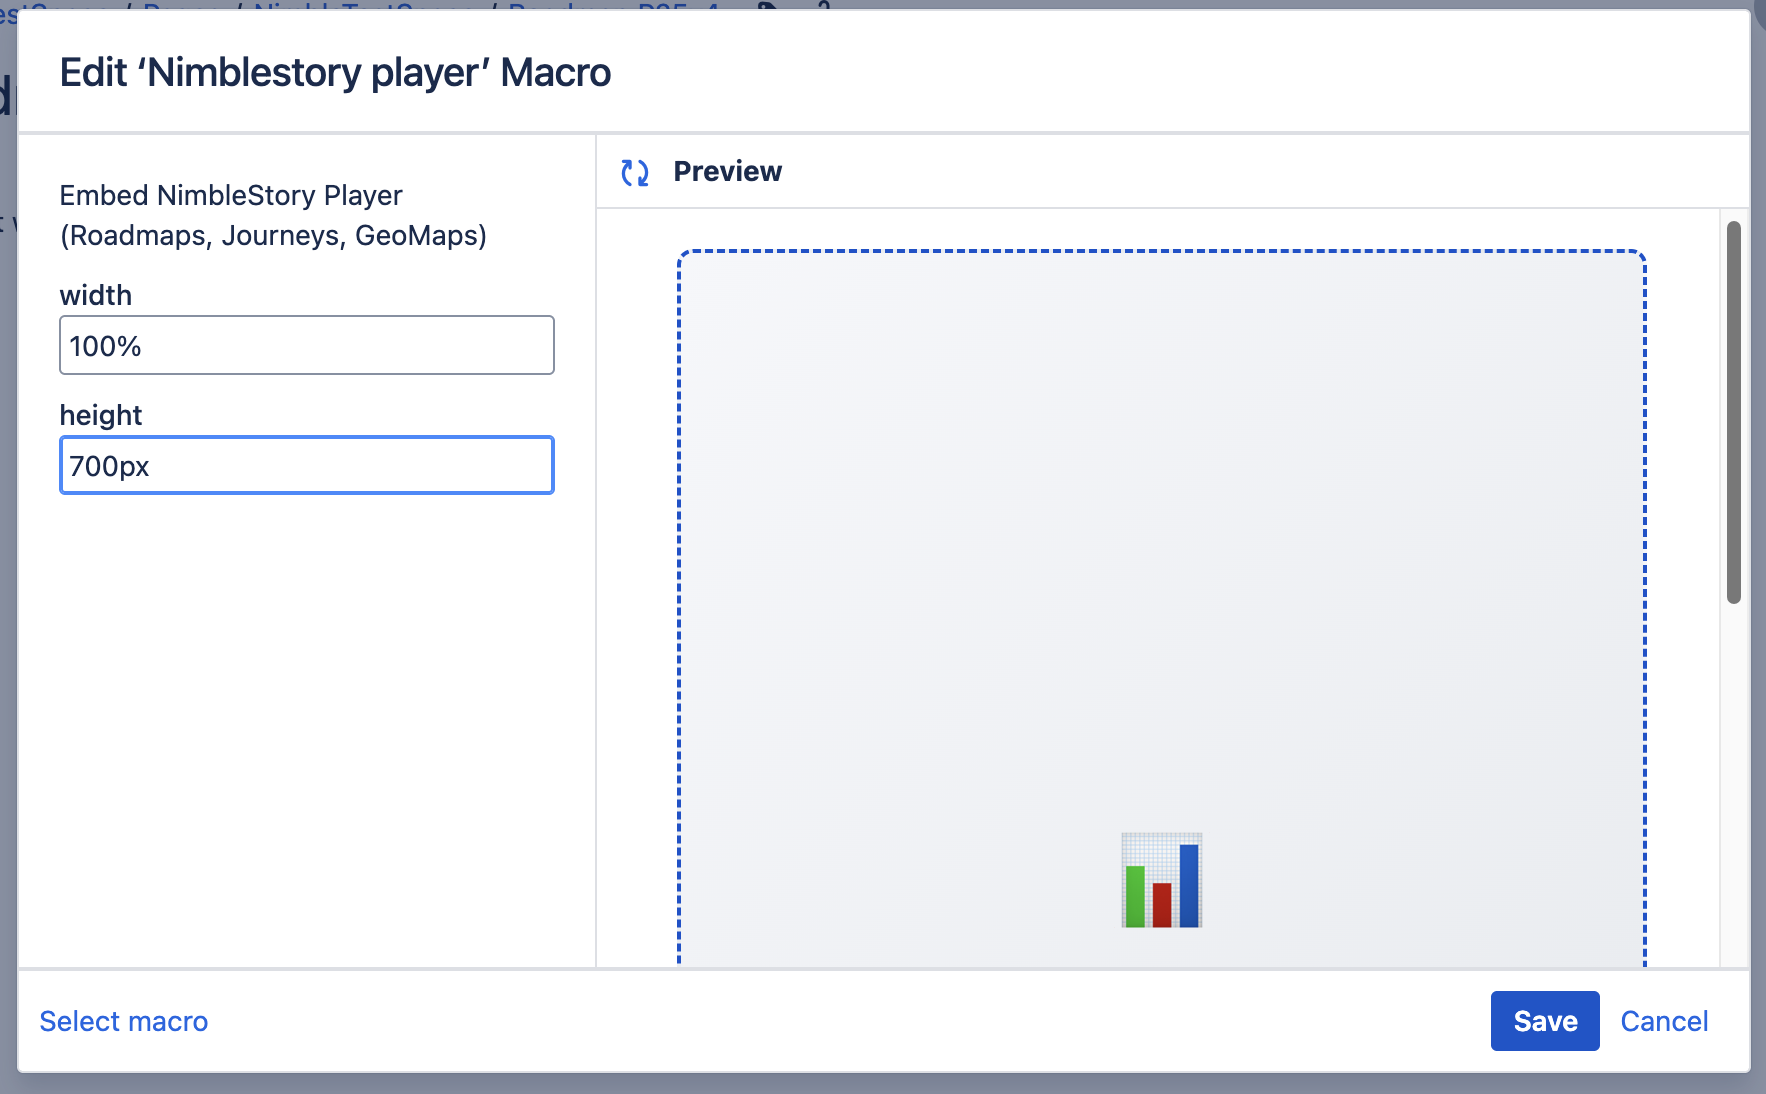
-
Save / Update the page.
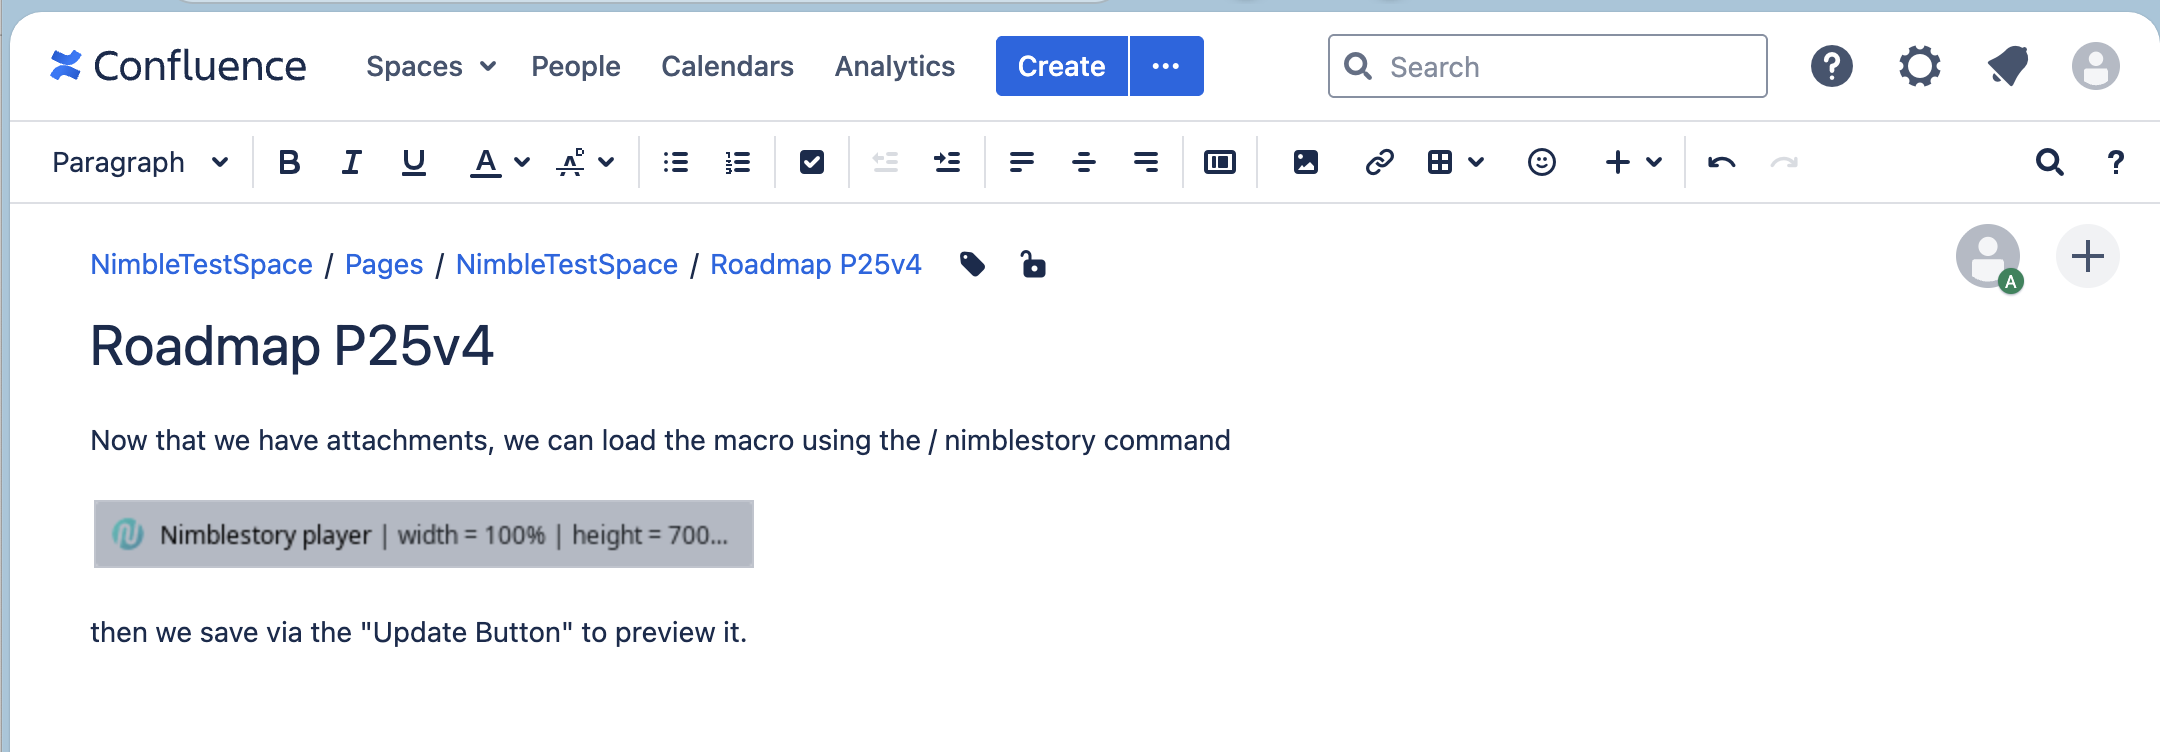
-
It should render, you may need to adjust placement and size again to make it work for the page.
-
Alternatively, you can use the NimbleStory Player Servlet directly - but this STILL requires a page with the attachments loaded into it.
-
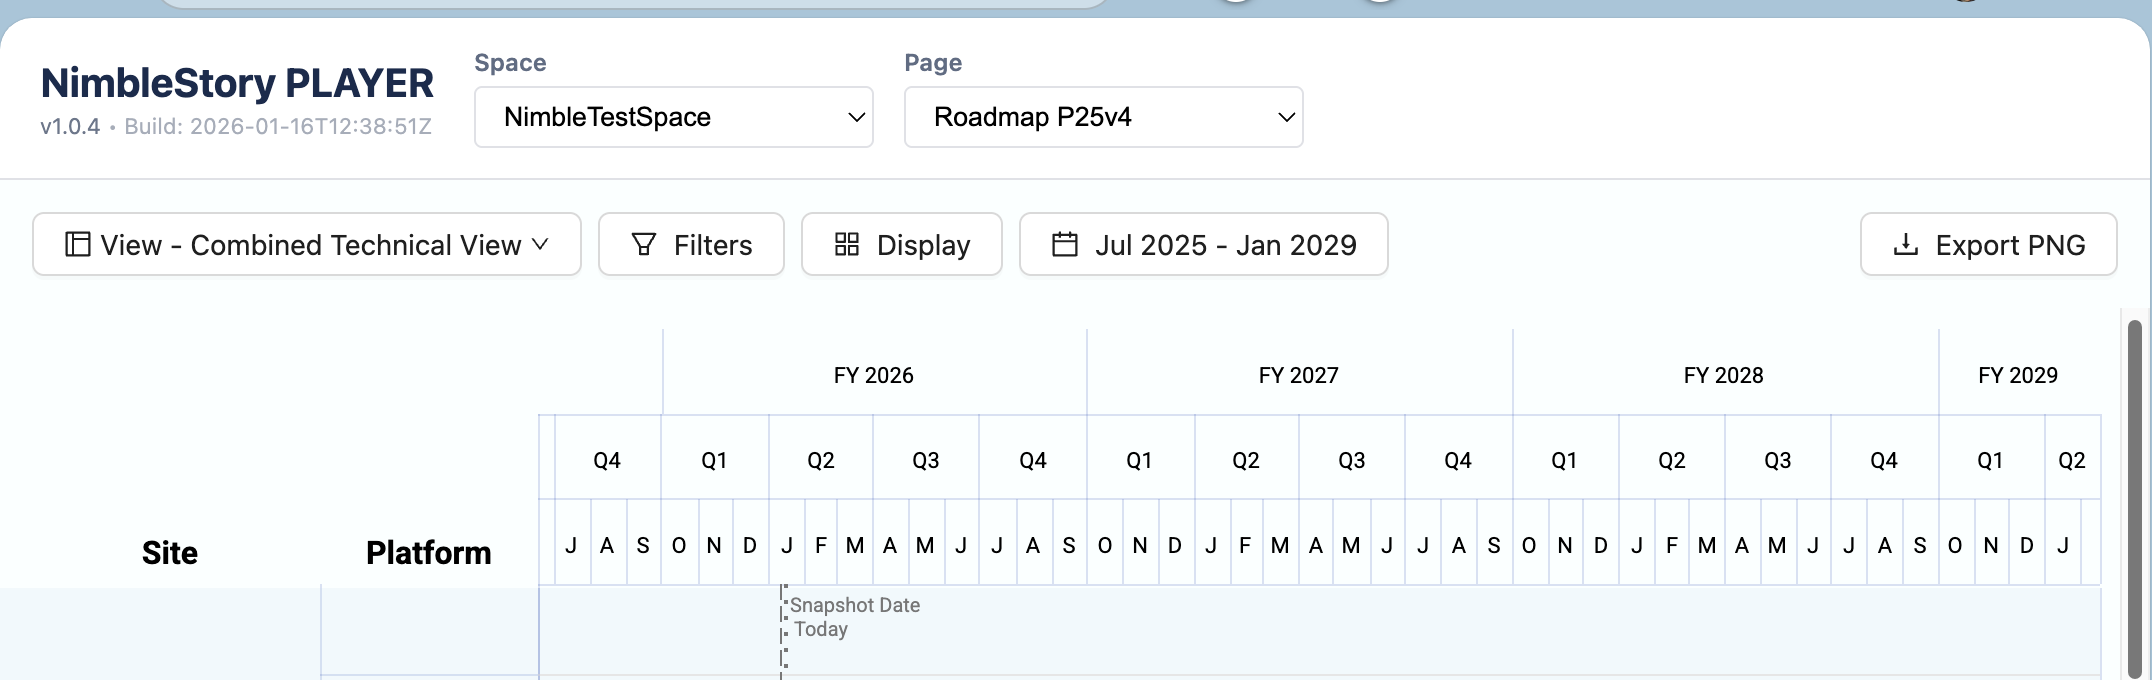
Navigate to the [yourconfluenceurl]/plugins/servlet/nimblestory-player
-
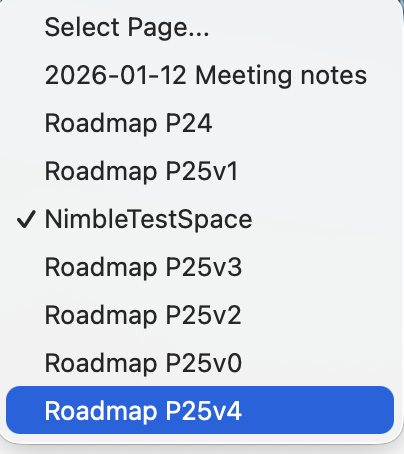
Select the Space and Page with the Player Export attachments in it.
-
And it should render.
End User Usage
[CONTENT IN REWRITE WILL BE LINKED HERE]
Notes
- Confluence Player is view-only, it doesn't edit any data, but it is interactive, and you can filter data.
- Data updates (datasource.json) can be applied directly by updating that file in the attachments.
- View Configuration changes (styling, UI options, filters, etc should be done in NimbleStory and re-exported but can be done by manipulating the viewconfig files - but this may break if not done right so save old versions to revert).
- Access control and usage metrics are handled by Confluence.