NimbleStory Collections - Creating Personalized Lists
📘 Overview
Collections are a set of pre-assembled system level filters designed for quick content viewing and examination. This article provides guidance on accessing and creating your own personal collections.
📘 Instructions
Follow the step-by-step instructions below to manage and view collections.
Access Collections
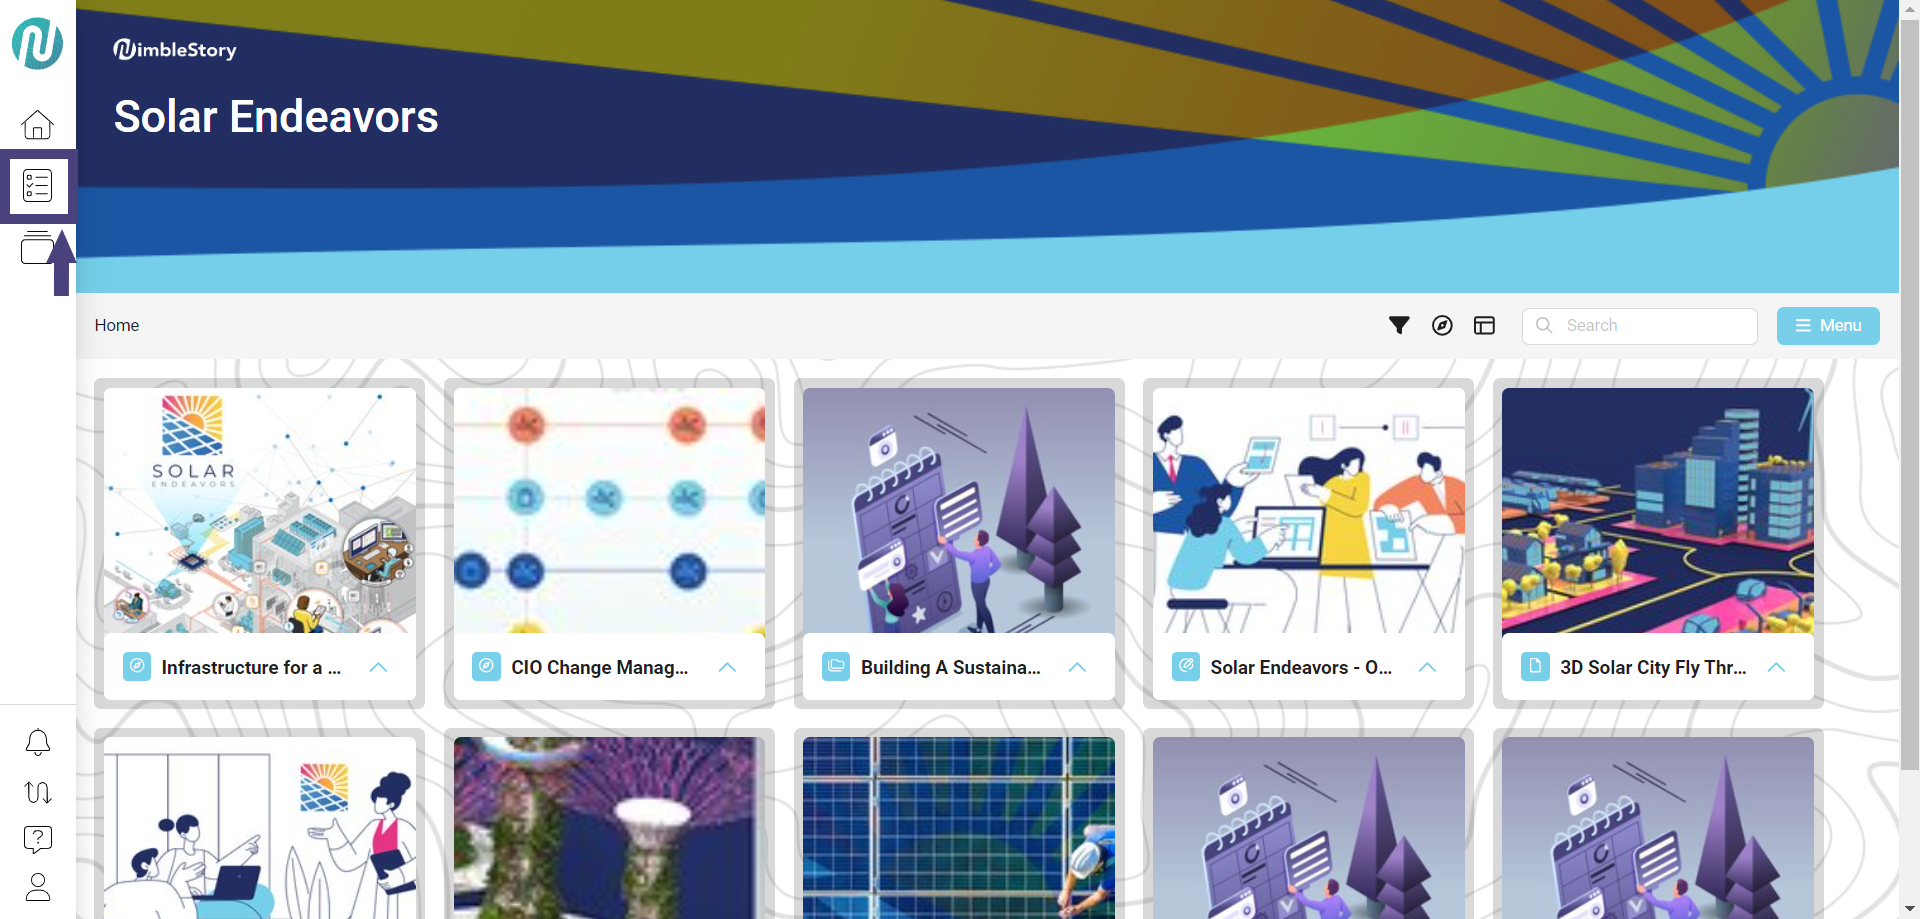
- Access the Collections Home Page by clicking on the Collections icon on the left side primary navigation bar:
- Click on the card that you want to view the collection information on:

Your organization may have three default types of collections:
-
All Content:
- All content that you have access to within the context of your projects.
-
Recently Updated:
- Content recently updated within the last 30 days across any projects in an organization.
-
Interactive Content:
- Interactive assets or portfolio content that may have been added within a project.
Create Your Own Personal Collection
Via Organization
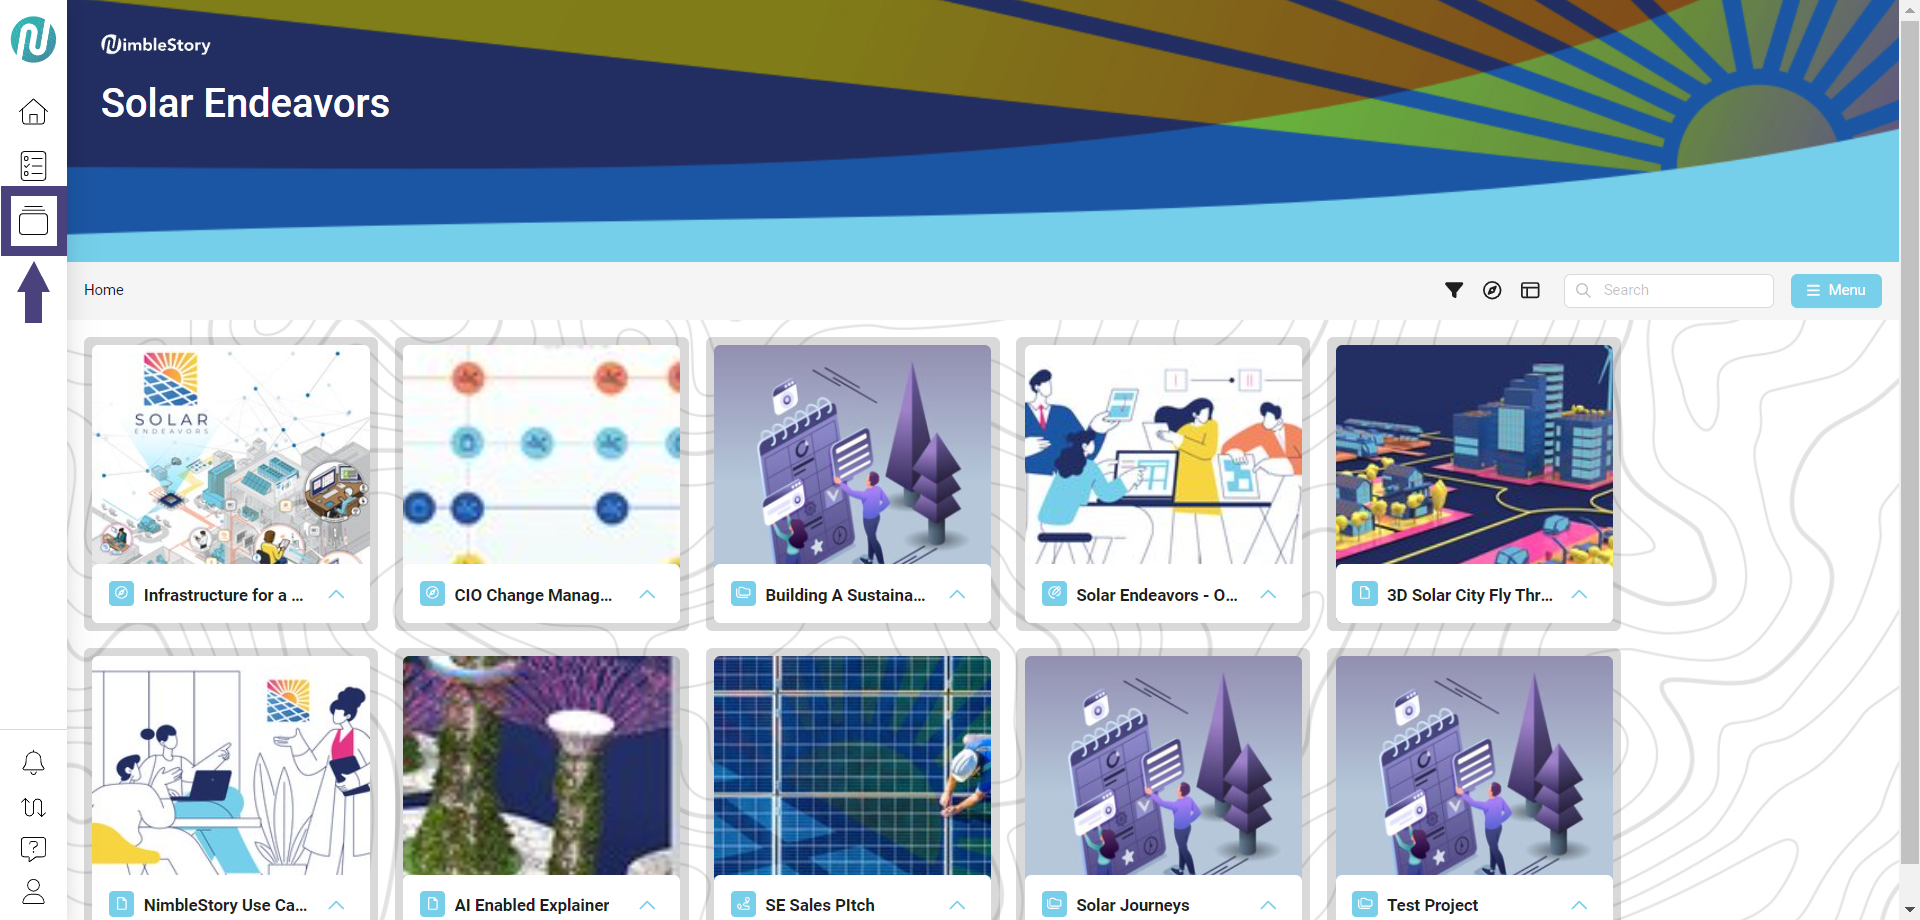
- On the left side primary navigation bar, click on the Projects icon:
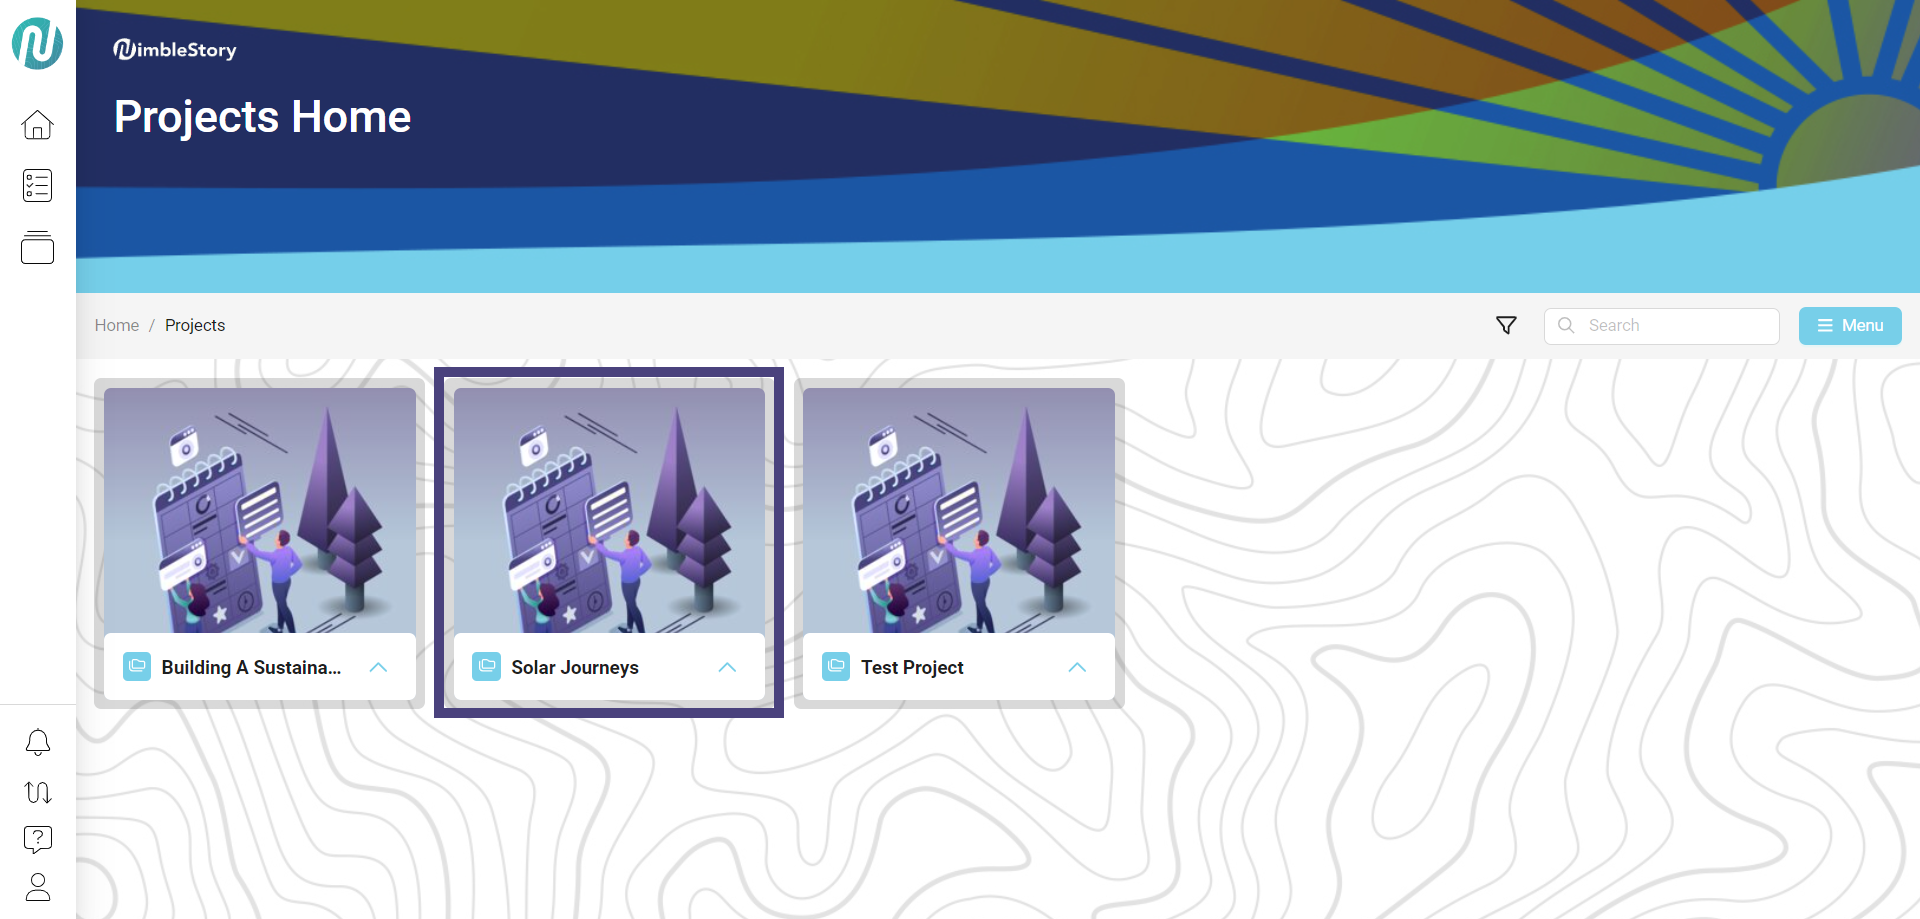
- Click on your project (Example: Solar Journeys):
- The project cards will be displayed. To access the footer options, click the up arrow next to the card name. To close the footer options, click the down arrow:
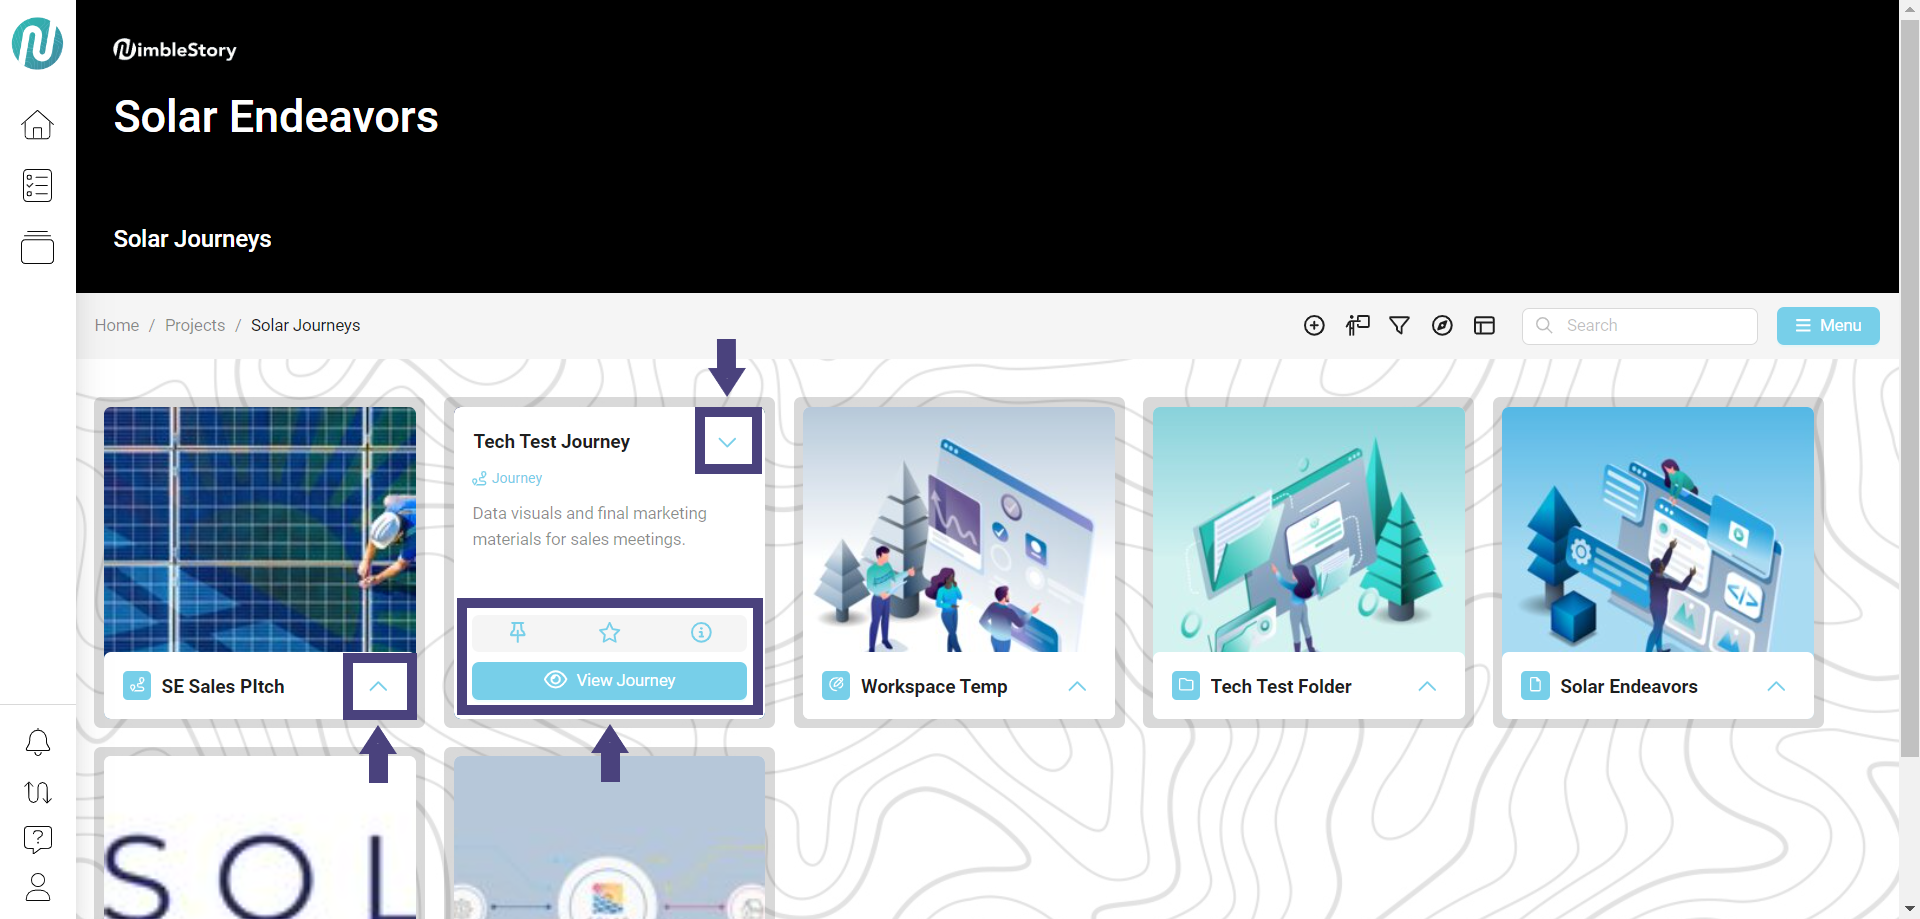
Footer options:
-
Pin:
- Pin the content that you want.
- To be able to pin to a collection, the collection must currently exist.
-
Star:
- Add to an existing collection or create a new collection.
-
Info button (circle with an 'i'):
- View general information about the specific asset.
-
View Journey:
- View the card content.
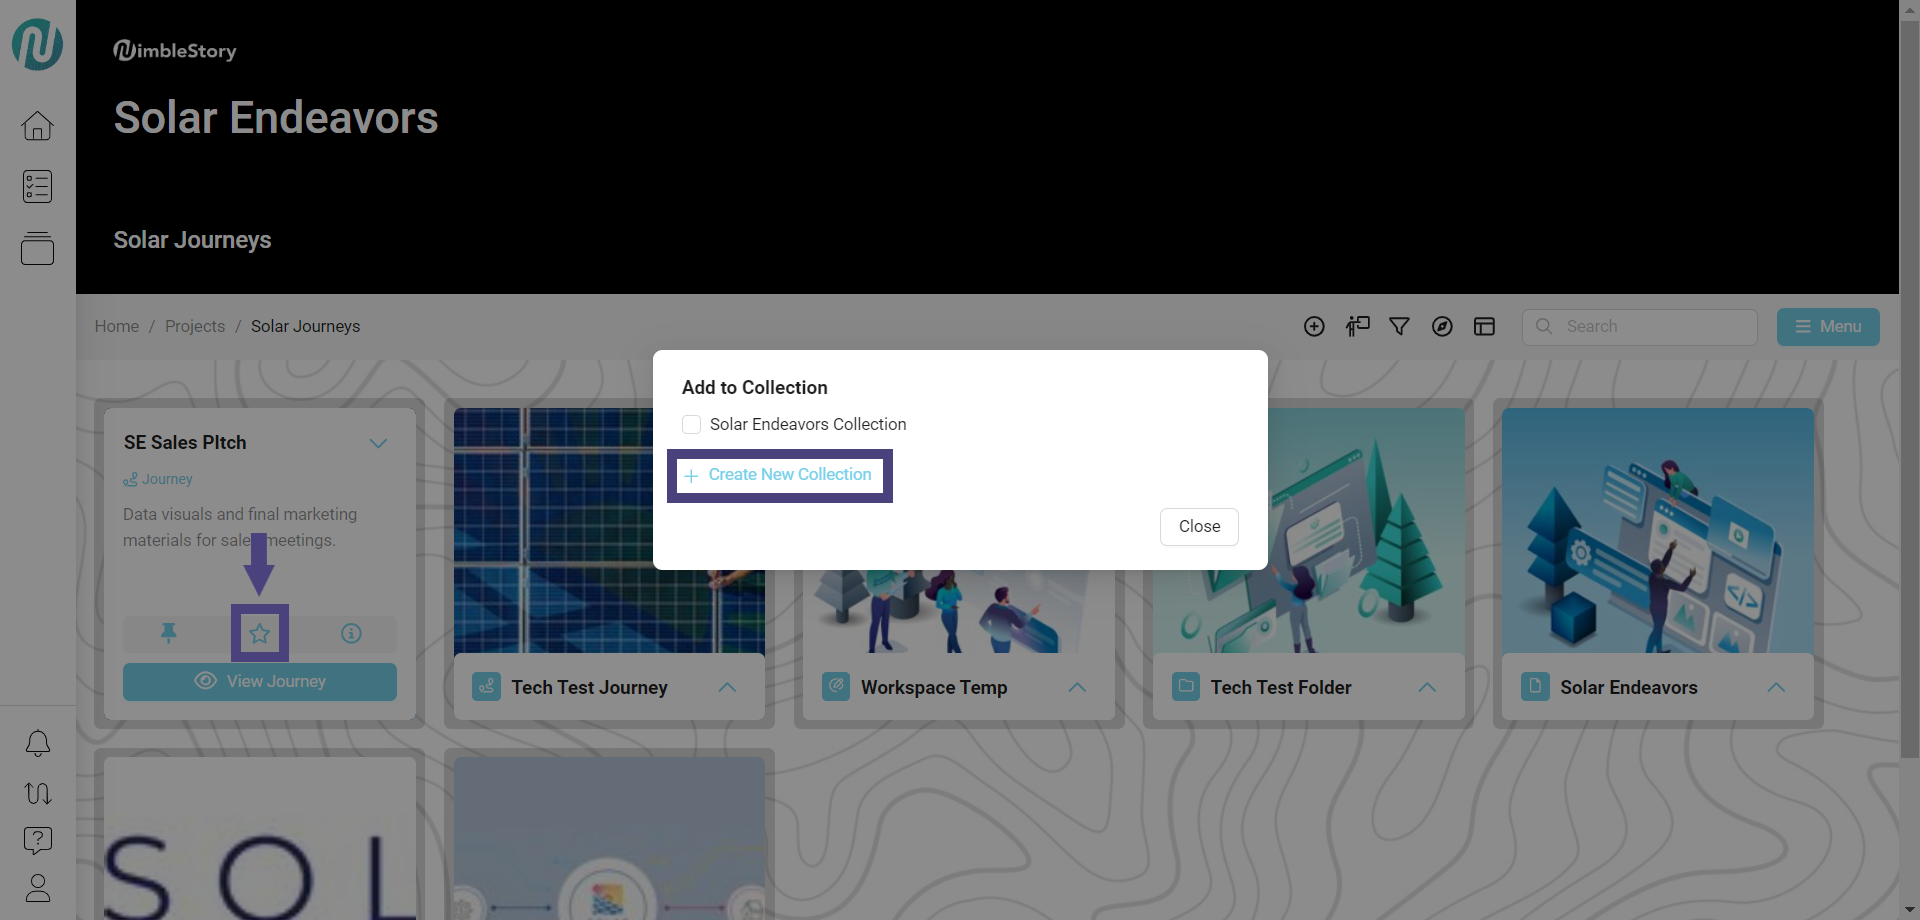
- Click on the Star icon to create a new personalized collection, then click on + Create New Collection:
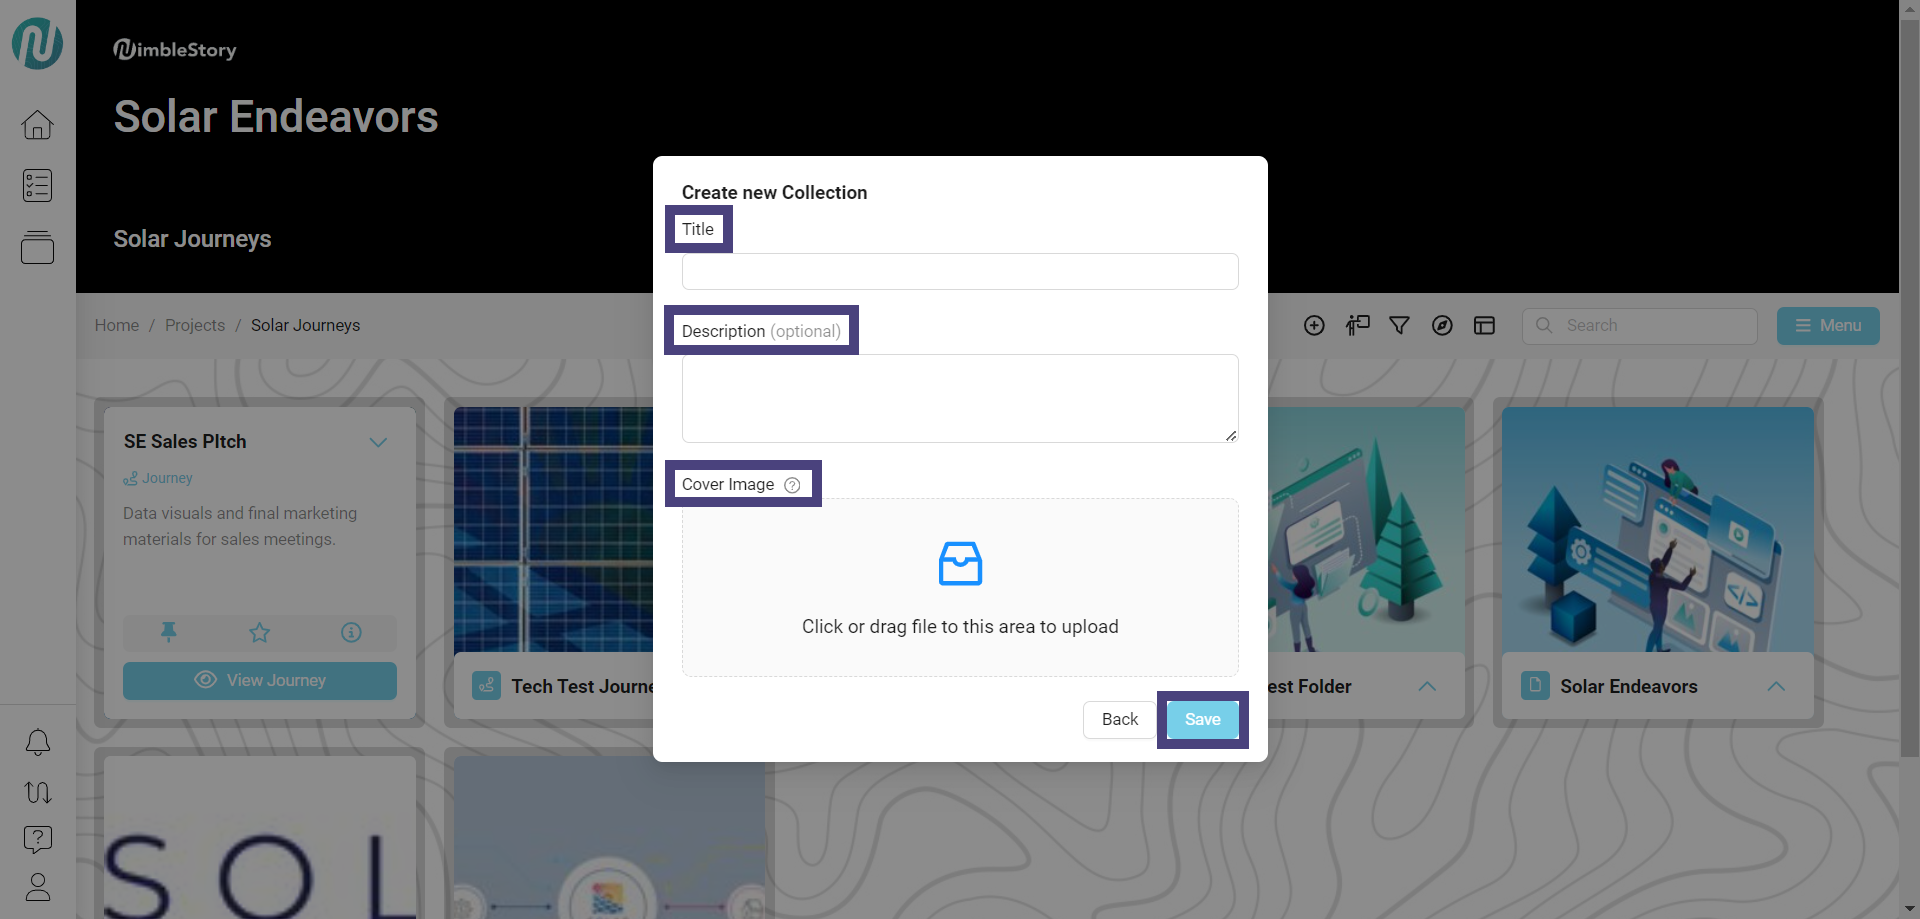
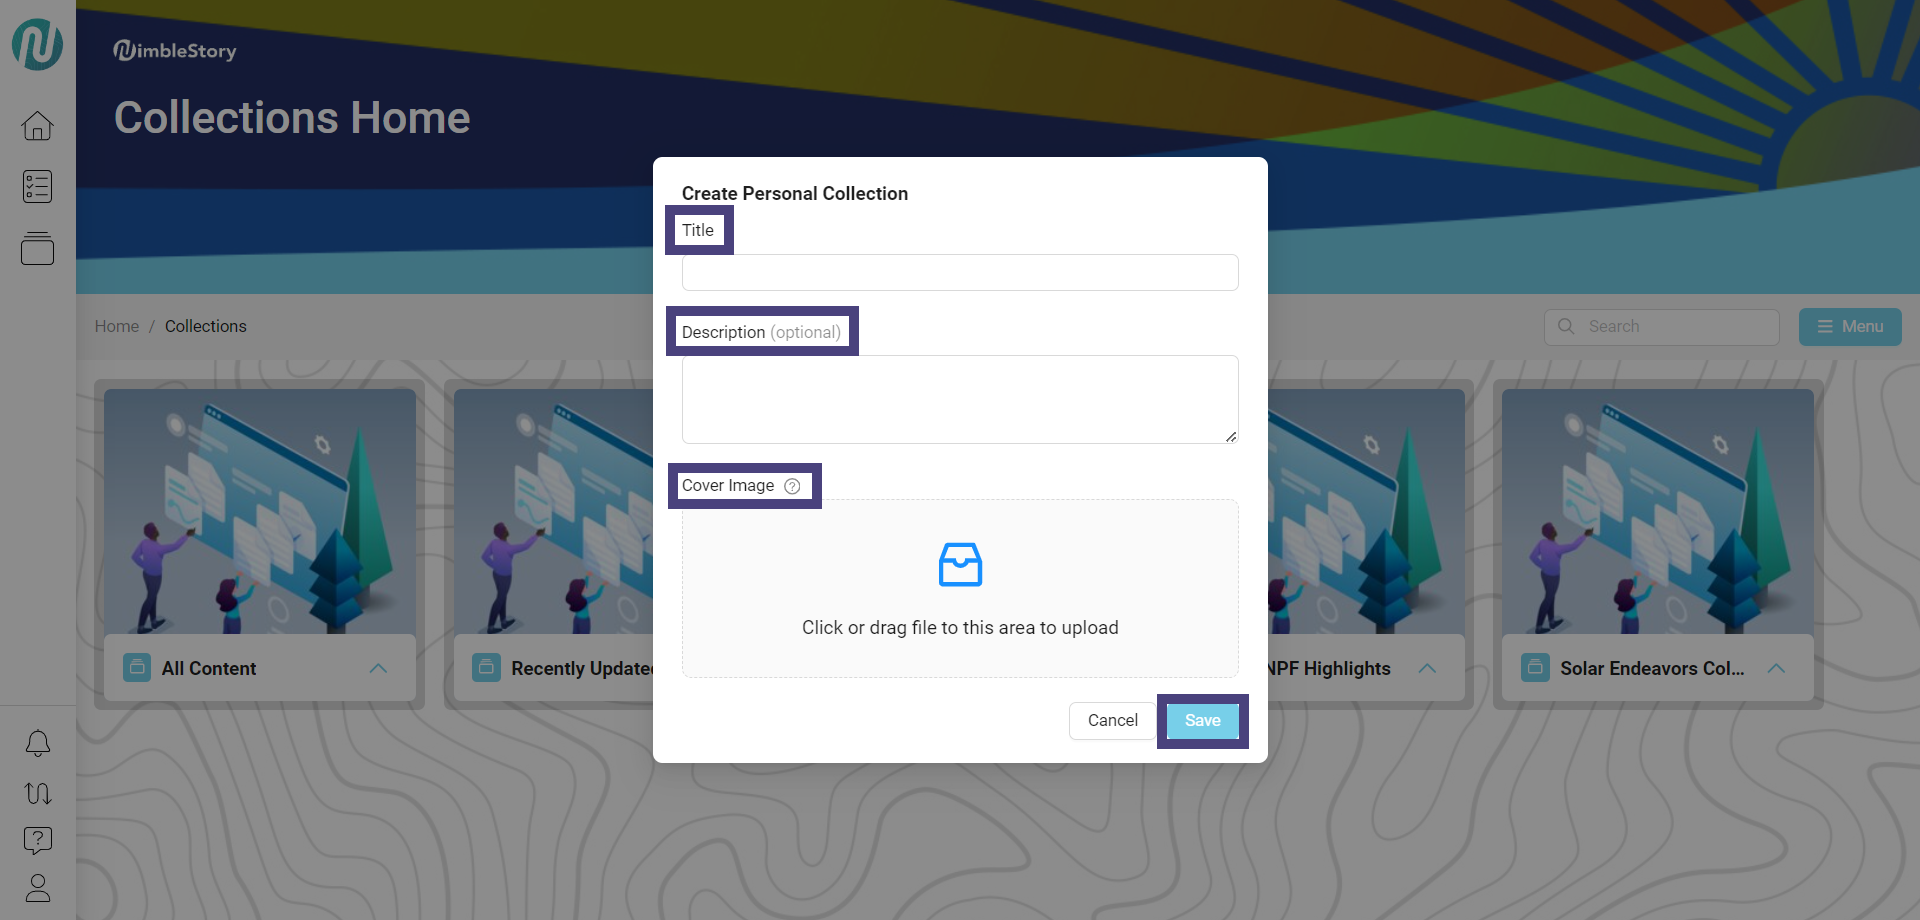
- Fill in the Title, Description, and Cover Image fields, then click on Save:
-
After the new collection is created, the newly added content will be automatically pinned to it and the Star icon will be filled in.
-
You can continue to add multiple collections by clicking on + Create New Collection.
- Each new personalized collection will be automatically check-marked and added by default, but can be removed by unchecking the box.
Via Menu
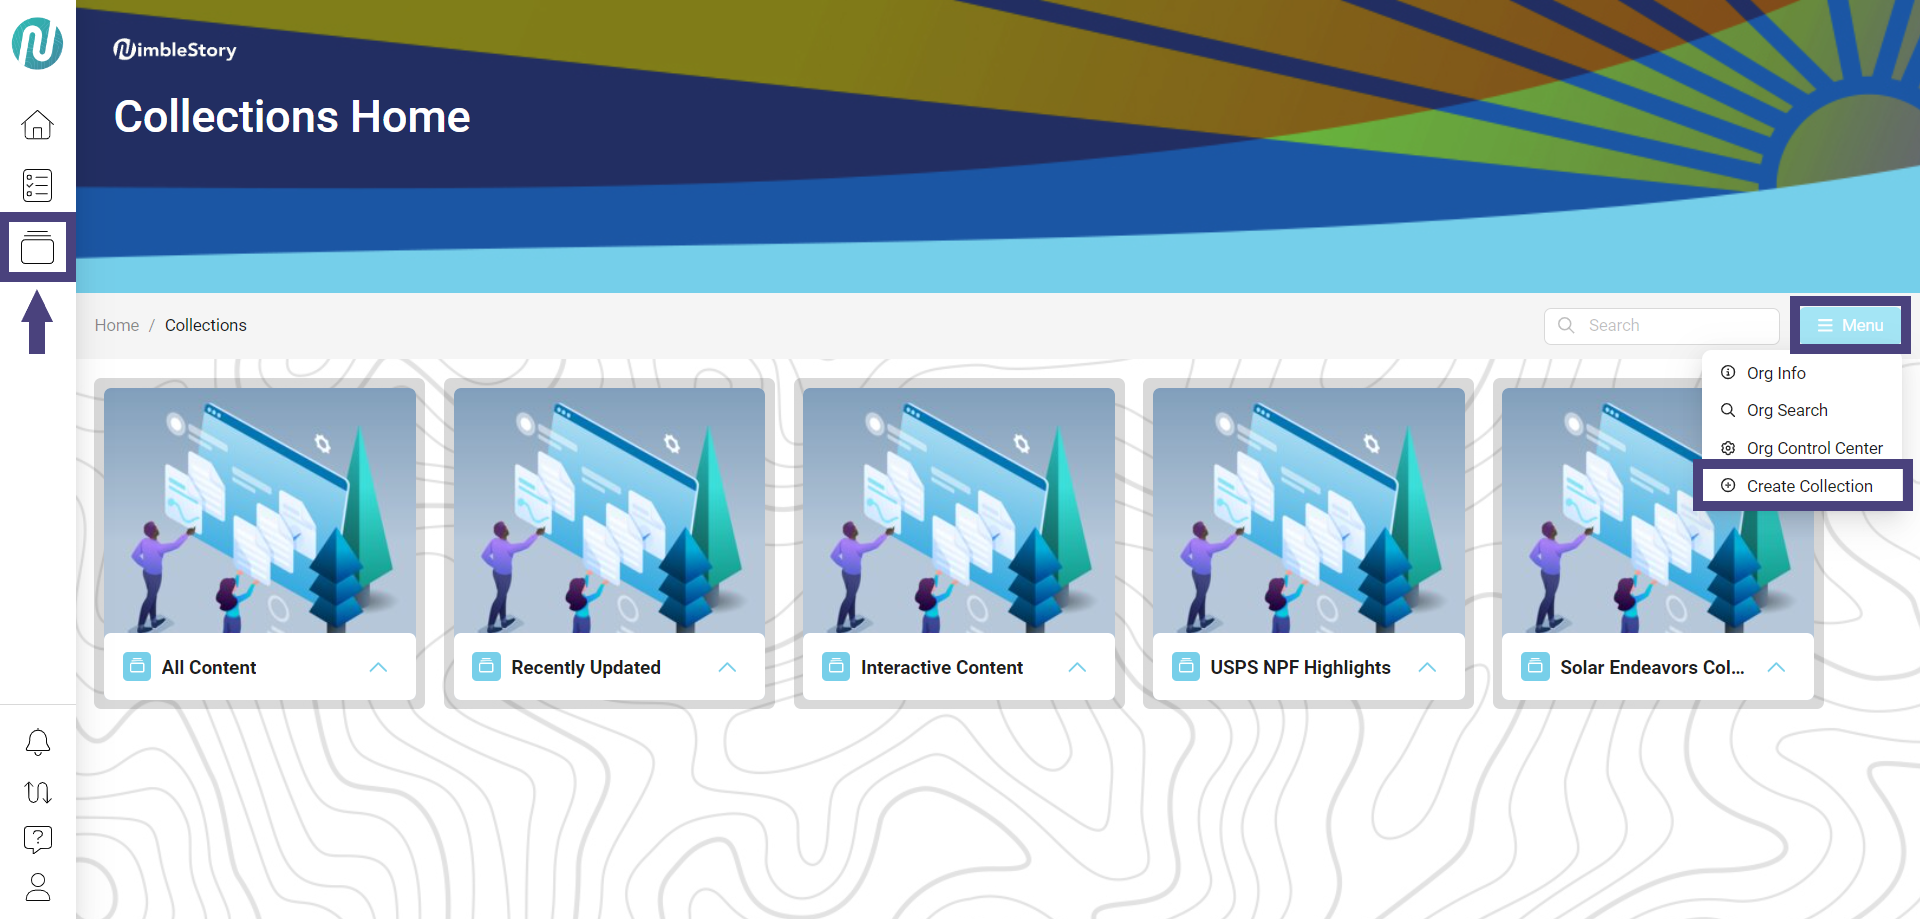
- On the left side primary navigation bar, click on the Collections icon, then on the upper right side, click on the Menu button and select Create Collection:
- Fill in the Title, Description, and Cover Image fields, and click on Save:
- Personalized collections will be persistent regardless of what organization you are in.
- For multi-organization environments, any content you add to a personal collection will be accessible to you across all projects and organizations, regardless of which organization you are in.
View Your Personal Collections
- To view your personalized collections, click on the Collections icon on the left side primary navigation bar:
- Your personalized collections will appear alongside the default collections (All Content, Recently Updated, and Interactive Content).
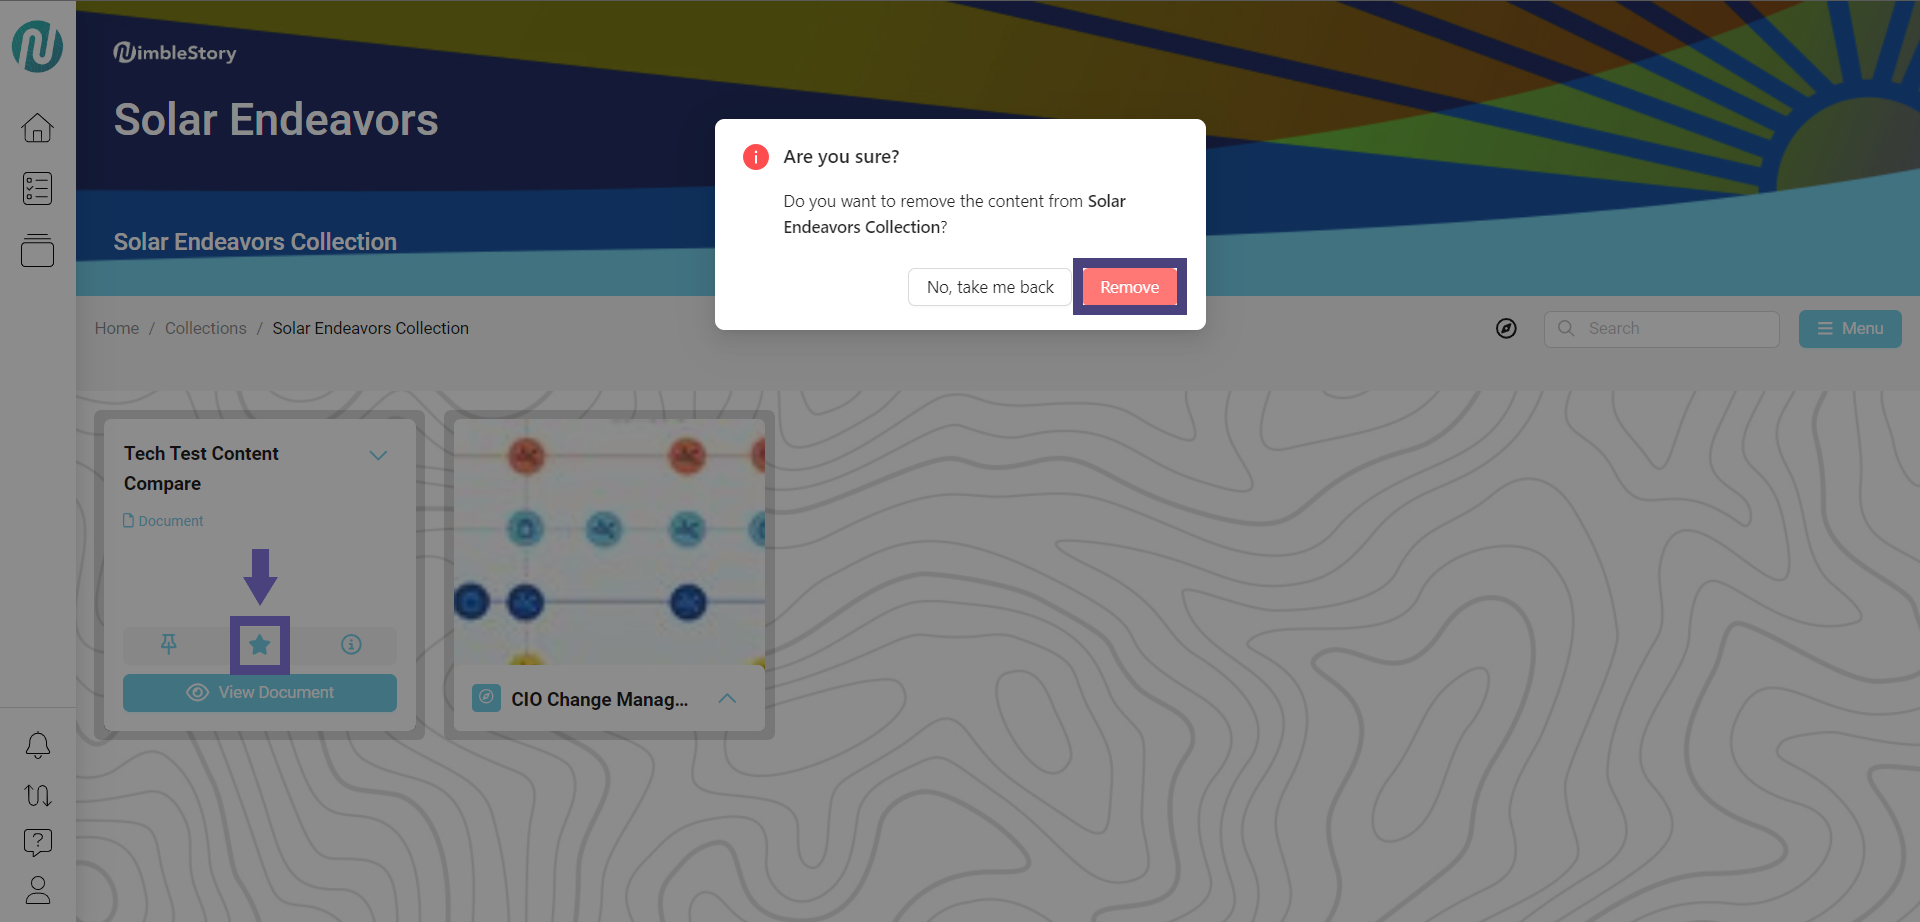
Remove Content from a Collection
- Navigate to the content you want to remove from a collection.
- Hover over the card and click the filled in star to unstar it. When the notification appears, click on Remove: